The Yellow Farmhouse Garden

July 13, 2012

Time to Plant Rutabaga and Parsnip for Fall Crop

Filed under: Vegetables — bob @ 2:15 pm

Mid to late July is the time to plant rutabaga and parsnip for a fall crop.

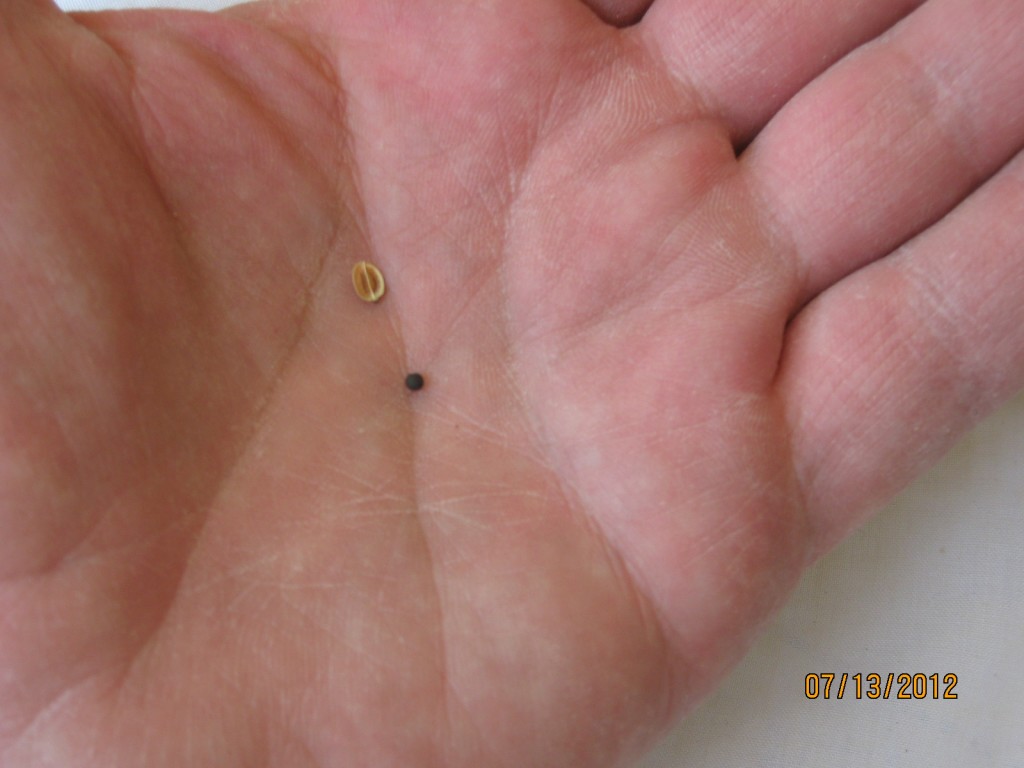
I spent part of the day sowing a 30 foot row of rutabagas and a 30 foot row of parsnips.  I took care planting them because the seeds of these two crops are very small. They can’t be planted very deep.  It’s hard sometimes,  to resist the urge to cover them with too much soil — a half of an inch of soil over them is all they need.

Parsnip seed upper left. Rutabaga seed lower right.

Since it has been so hot and dry here, I thought it would be a good idea to lightly water the soil after planting. This will help the seeds absorb enough water so they can  germinate. It  can take a couple of weeks or more for the seeds to germinate so, I’ll have to keep watering  until the seedlings become established or regular rains return.

When it comes to eating parsnips or rutabaga, I can take them or leave them. So, sixty feet is a lot of root crops to eat. I suppose I’ll develop a taste for them this fall. On the other hand, whatever I don’t eat, I’ll feed to the chickens. During the winter they always enjoy a treat from the garden.

Bob

Here’s a link to the University of West Virginia Extension and their bulletin on root crops.  http://www.wvu.edu/~exten/infores/pubs/fypubs/Rediscover%20Forgotten%20Root%20Crops%20Leader’s%20Guide%20WLG%20151.pdf
May 25, 2012

Planting Sweet Potato Slips in Raised Beds

Filed under: Vegetables — bob @ 9:49 am

Sweet potatoes are a great substitute for white potatoes in your diet.  Many people can’t — or shouldn’t — eat white potatoes.  White potatoes contain small amounts of  solanine a chemical compound that can trigger painful arthritis flare-ups in some people.  Sweet potatoes belong to an entirely  different plant family (morning glory family) so they do not contain solanine.

The most common and economical way to plant sweet potatoes is to plant slips.

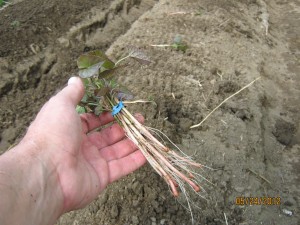
Use sweet potato cuttings, called slips, for planting. Here is a bundle of slips that I bought from a garden store greenhouse.

Sweet potatoes require warm soil and weather conditions to grow and thrive.  They also require a fairly long growing season to produce the largest harvest.  That means you need to get them into the ground early — as soon as the soil temperature reaches 60 degrees F and the chance of frost is over.  In our area, SE Michigan, one way to increase soil temperature is to build raised beds.

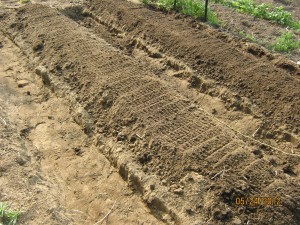
These sweet potato beds are about 18 inches wide.

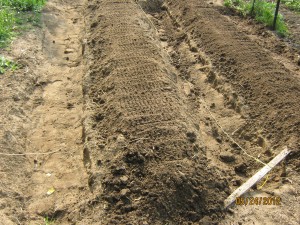
I built simple raised beds by digging a shallow trench next to the bed. The topsoil from the trench is piled up onto the bed.  These crude beds are designed to settle and become flatter as the season progresses.  But, for now, they provide a warm environment for young sweet potato plants.

These sweet potato beds are separated by the trench.

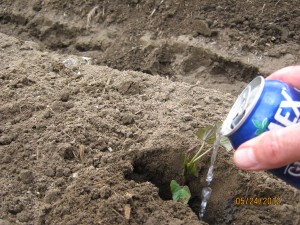
Plant the slips by digging a small hole in the center of the bed.  Place the slips deep into the soil. Leave only the top leaves sticking out of the ground.  Then add a slash of starter fertilizer or soluble plant food to the plant.

For small planting projects, I find a soft drink can works well for applying soluble fertilizer. The pour spout helps me control the amount of fertilizer I add.

Tuck the soil around the slip and you’re finished.

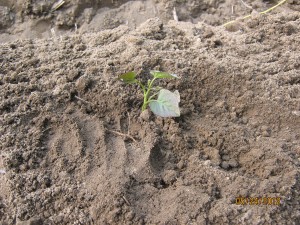
This sweet potao slip is tucked in and ready to grow.

The sweet potato slips have plenty of room to grow.

My slips are about 16 inches apart in the row; this gives them plenty of room to grow. Make sure you water your plants regularly to keep them growing. Additional watering later in the season will help them produce plenty of large roots.

Keep the weeds out of your sweet potato patch especially when the plants are still small.  The leaves of the growing plants will start to fill in empty spaces and keep weeds from getting a start.  As the sweet potato vines grow larger and larger, weeding will become easier as the growing season progresses.

Bob

February 28, 2012

Bitter tasting carrots

Filed under: Storage and Preservation,Vegetables — bob @ 12:58 pm

Not long ago,  I came home with a bag of carrots from the grocery store. It was disappointing; every carrot in the bag was bitter tasting. This reminded me of the experience I had many years ago as a new gardener.
Back then I had a plan to grow enough fruit and vegetables to last through the winter. I grew carrots, cabbage, onions, apples and some other produce I wanted to put into storage. I built a small storage space and carefully put my produce away.
All of the fruit and vegetables I was storing had similar storage requirements. They needed a temperature around 32 F and fairly high humidity. It made sense to me to store them all together in the same space.
Later in the winter I took out some carrots to use. They all had that bitter, almost soapy flavor. Later I learned that apples give off ethylene gas. The ethylene caused the carrots to form chemical compounds called terpenes. Those terpenes were the source of the bitter flavor.
Somewhere along the line, the carrots I bought this week must have been exposed to ethylene; probably from apples in a cooler.
That’s a good reason why you shouldn’t store apples and carrots together in the same refrigerator drawer; especially if you don’t plan to use them right away.

Bob

October 14, 2011

Egyptian Walking Onions

Filed under: Vegetables — bob @ 12:50 pm

The other day, a friend of mine gave me a handful of Egyptian walking onion sets.  I hadn’t thought about them for years.  The first thing I ever planted as a young adult with a garden of my own was a patch of walking onions.

Egyptian walking onions got their name from the unusual way they reproduce.   A walking onion plant grows through the summer.   As autumn approaches, they form a cluster of mini-onions at the top where you would normally see a flower.  The cluster of bulbs, or sets, grows until they get so big that they cause the plant to bend and fall over –sometimes as far as two or three feet from the parent plant.  The sets take root at that spot and grow into new plants.  The following year the cycle continues –that’s how they walk across the garden.   I don’t know about the Egyptian part of the name though.

Although it sounds like it, they are not invasive.  They are easily tamed by picking the sets and moving them where you want them.

Autumn is a good time to plant these sets since it is the time of year when they “walk.”  As a perennial, they easily survive our winter.   Egyptian onions are the first thing that comes up in the spring and can be harvested and used like green onions.

These Egyptian walking onion sets have been in the ground for ten days.  Now they are about one and a half inches high.

During the summer, the onions grow a cluster of bulbs that are about the same size and shape as a shallot.  Those can be dug up and used like a small onion. The taste is much more pronounced than most onions.  By the way, the sets are edible too.

At one time it was hard to find Egyptian onion sets unless you knew someone who grew them.  Nowadays they are available online.

Bob

May 15, 2011

Vegetable Garden Planting Chart

Filed under: Vegetables — bob @ 1:20 pm

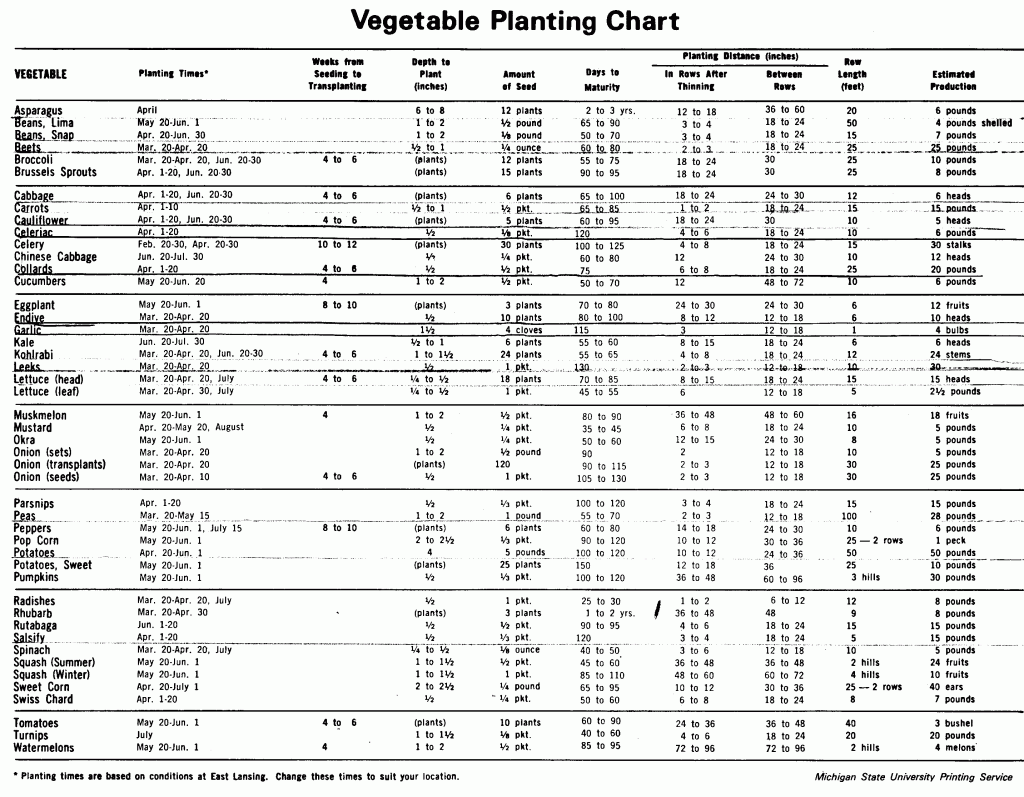
Sometimes it’s hard to decide how much to plant.  How many seeds do you plant to get the amount of vegetables you need at harvest time?  Maybe you have decided to make pickles this year; how much do you plant?

Here is a chart I found in my old files.  It was developed by Michigan State University in 1974.  I referred to it all time back then, as you can see by all the markings on it.

This chart was designed for a garden that will be planted in rows; raised beds and/or grid planting will produce different yields.

Use this chart as a reference point to decide planting and harvest rates.

This chart is pretty old but I believe the information is still pretty accurate.

Bob

« Newer PostsOlder Posts »

Powered by WordPress