Someone asked me a couple of days ago how do we manage to sow all those different seeds each spring. You see, we sow thousands of seeds, involving dozens of varieties. Each type of seed is a different size and shape.
Other than our fingers, we have some tools and devices that help the process along.
Here we see the five main tools we use in the greenhouse; tweezers, a suction-type seeder, a hypodermic-type seeder, a vibrating seeder, and a seed holder.
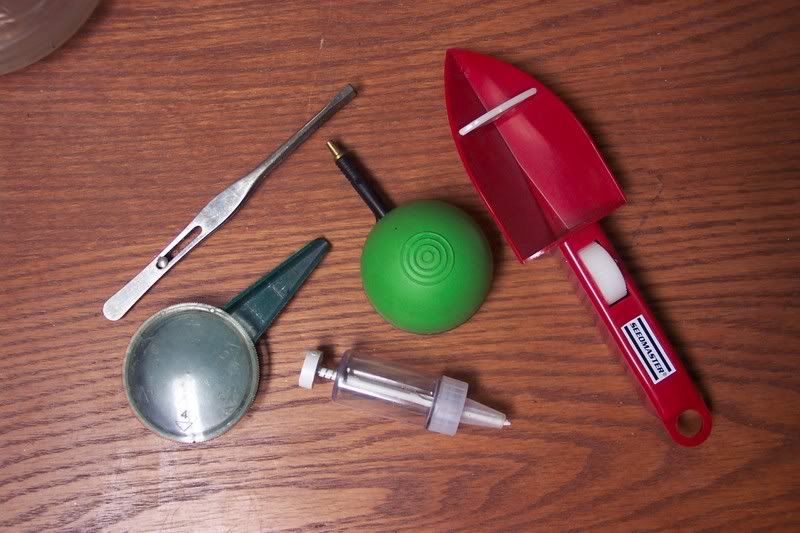
Tweezers are used quite a bit for medium sized seeds, we just place a small pile of seeds in the palm of our hand and pick them out one by one. It is a slow process but you can develope some speed with practice.
The suction-type seeder is used for the smallest of our seeds, begonia, petunia and the like. The device comes with three different size tips. You use the one closest to the size seed you are working with.
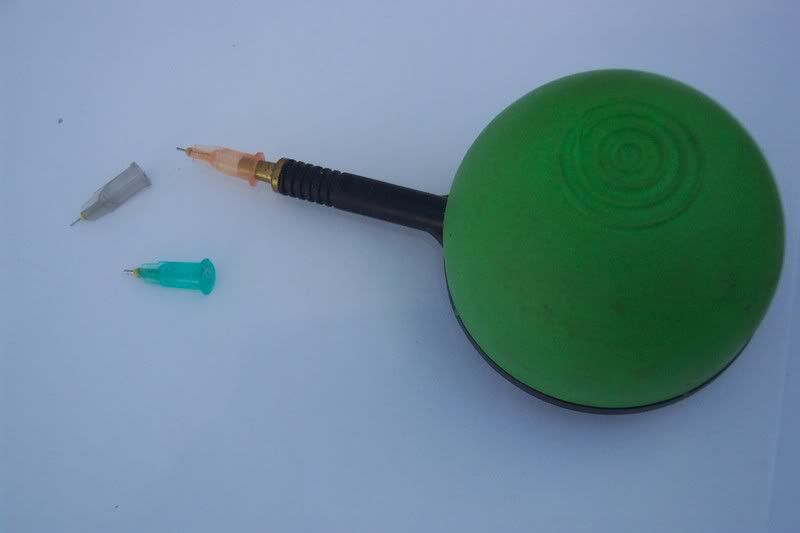
The suction seeder also picks up one seed at time. You just squeeze the bulb and release, it creates a vacuum that is used to pick up the seed. Many times the seed we sow with this tool is very small and hard to see. It helps to place the seed on a piece of white paper. This tool occasionally will get plugged up with debris. The manufacturer sends along three stiff pieces of wire that you use to unclog the tip. Don’t do what one of my helpers did and throw away that little 1″ piece of paper. That is how the cleaning wires are packaged!
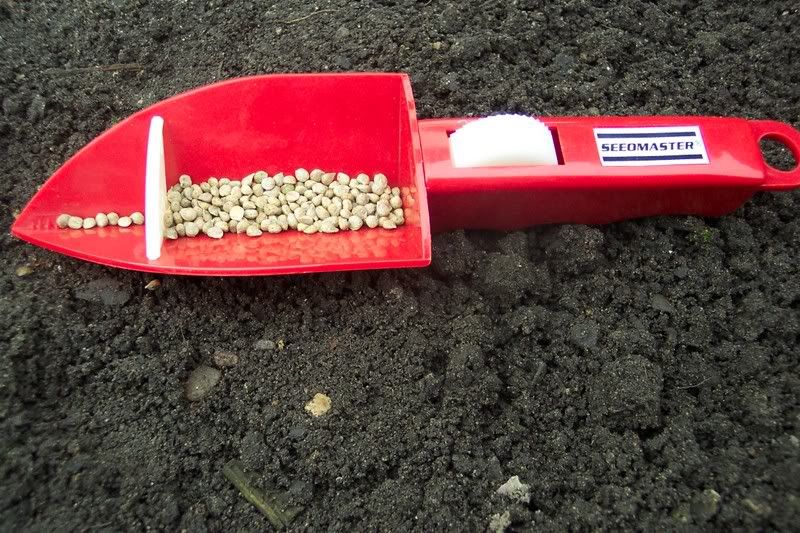
The vibrating seeder is used for medium sized seed that are some-what heavy. The vibrating action of the tool can flip light weight seeds right off your table and on to the floor ! This device has a knurled wheel on the handle that you turn with your thumb. The wheel rubs on an internal part of the seeder causing it to vibrate thereby shaking off the seeds from the tip. A set of interchangeable baffels with different sized openings keeps too much seed from collecting at the tip.
The “hypodermic” style seeder has a plunger with a groove cut into it. As you press the plunger up and down it picks up a seed from inside the seeder and deposits it on the soil.
The tool we use the most is the seed holder. This simple tool has a round part to place your seeds into. A clear cover that has different sized holes cut into it, keeps too many seeds from moving into the spout. To use this tool you just tap the side with a pencil or rub the ridges molded into it. This causes a slight motion that moves the seed. If you have it slanted down at just the right angle, the seeds can be placed very accurately onto your potting mix.
We use a variety of containers for sowing seed into.
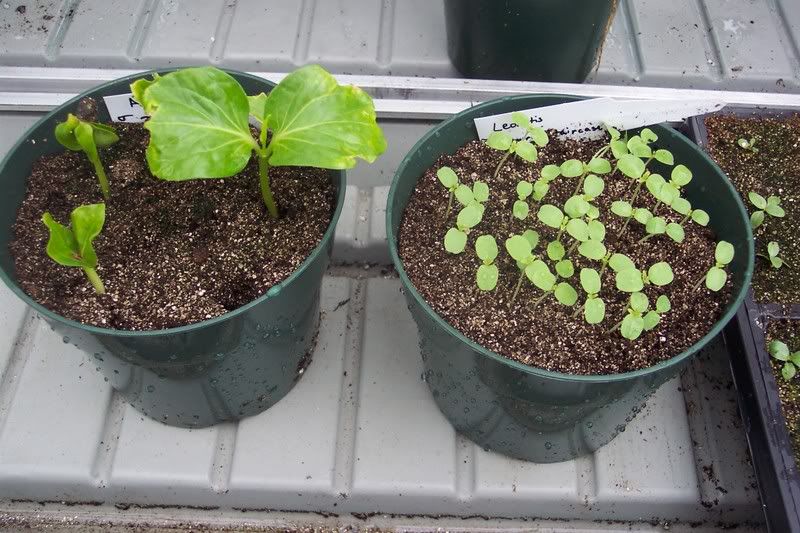
A six inch pot works great whenever we have just a few seeds to sow; anywhere from a half dozen to a maximum of about 60 or so.
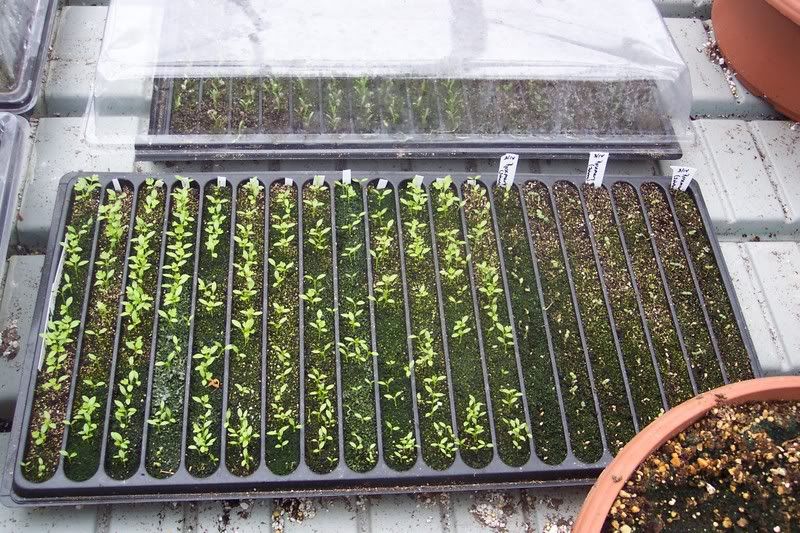
The divided-row flat is used for a greater quanity of seed, twenty five to fifty seeds fit in each row. It is also used to sow different varieties that you would like to keep apart but have the same germination requirements.
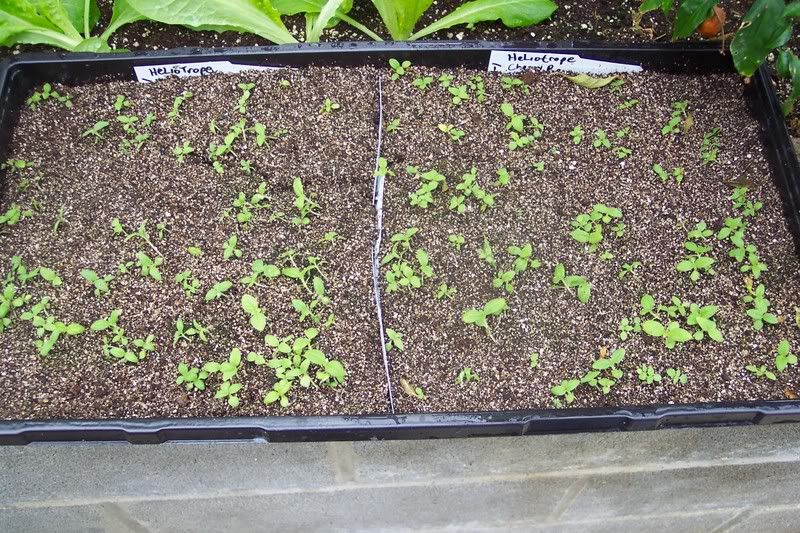
An undivided flat is used when we want to sow the seeds thickly as in the case of onions. Here we divided the flat in two using plastic pot tags.
On occasion we sow the seeds directly into “cells” that range from 48 to 128 cells per flat.
We also have sown into Jiffy pots and other containers. The old stand-by, a cut down milk carton works wonderfully as do yogurt containers with drainage holes cut into the bottom.
Next time we will discuss starting mix and seeds.
Bob
