The Yellow Farmhouse Garden

May 31, 2017

Boot stage is the time to till under rye cover crop

Filed under: Cover crops,Grain — Tags: , , , , — bob @ 8:01 am

The rye cover crop I planted last fall made tremendous growth this spring. The plan all along was to till it into the soil before planting a week or so before planting.

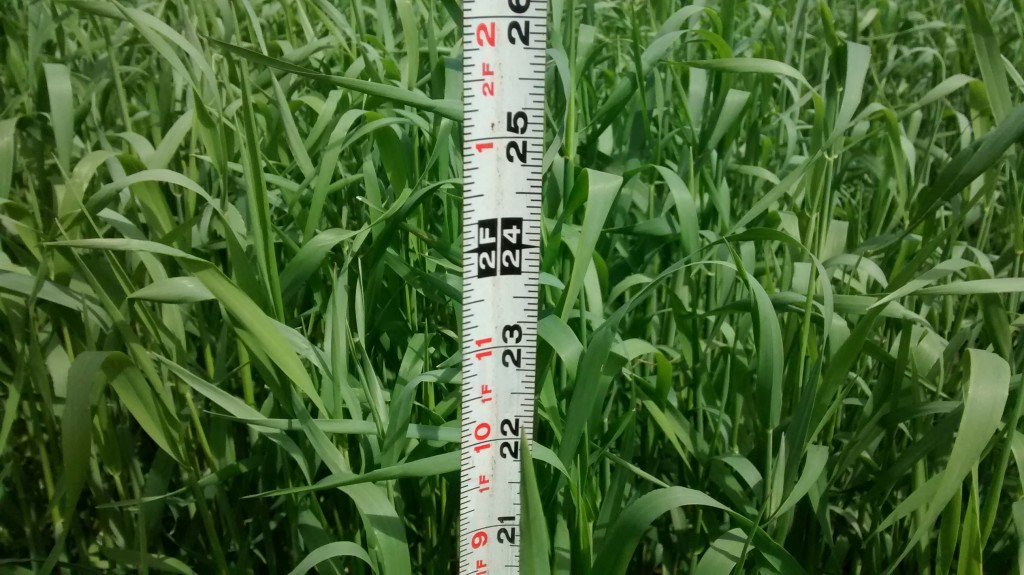
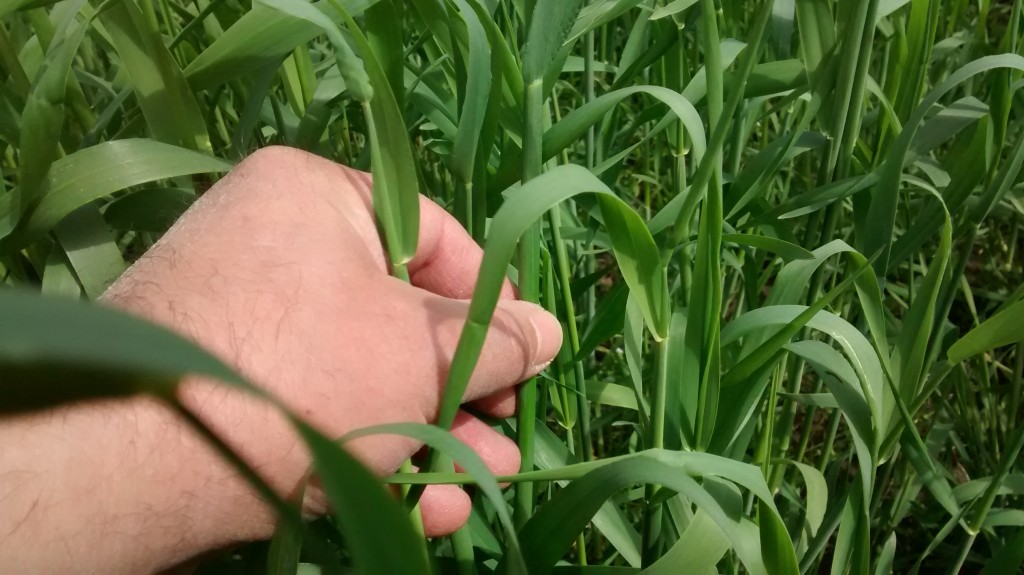
Timing is important when it comes to tilling under a cover crop like rye. The plants grew and entered the “boot stage” of growth, forming flower/seed heads inside the stalk. This is the ideal time to till rye into the soil. At that stage the plants are about 20-24 inches tall.

rye3

You can feel the flower/seed head forming inside the stalk during the boot stage.

I thought the garden was quite fertile, and it is, but the spots that received a little heavier application of compost last fall are much greener, taller and are developing seed heads earlier. It’s a good demonstration about the benefits of compost.

As you would expect, areas with more compost were taller and a deeper green color.

As you would expect, areas with more compost were taller and a deeper green color.

The plants were too tall for the rototiller to handle on its own. I had a couple of options, either kill the rye with an herbicide like Roundup, which is what most of the conventional farmers do, or mow it. Since I’m trying to keep it an organic garden, I mowed.

Twenty inches tall sounds like a lot for a mower to handle but rye is very tender and juicy in the boot stage — they are almost all water. If I had mowed it before the boot stage, the plants would have grown back just like a lawn. If I waited too much longer, the plants would have been tougher and drier as they begin to form seeds. That would have made it much more difficult to till and would leave too much coarse plant material in the soil. The chopped up rye dried and left a fine textured residue that was very easy to till.

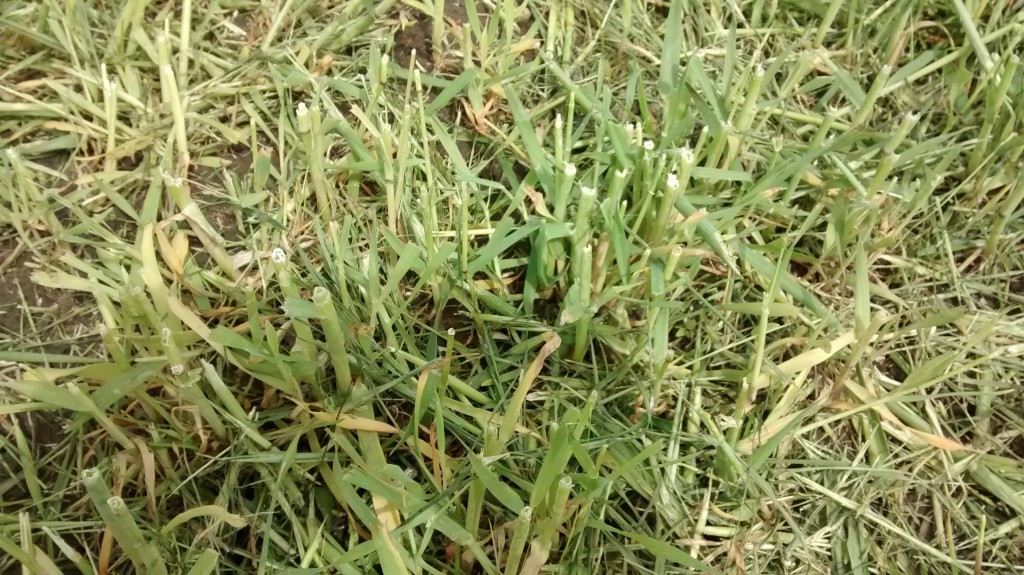
Mowing stops the growth of rye

The stubble after mowing is about five inches tall. Notice, there are no weeds present.

Plant growth stage was not the only thing I was checking, I was looking at soil moisture too. All the rain we had last week left the soil temporarily saturated but it dried fairly quickly.  Tilling a garden that is too wet destroys its soil structure negating most of the benefits that a cover crop provides. The rye along with winter freezing and thawing improved the soil structure by forming loose aggregates of soil particles leaving plenty of space for roots to grow.

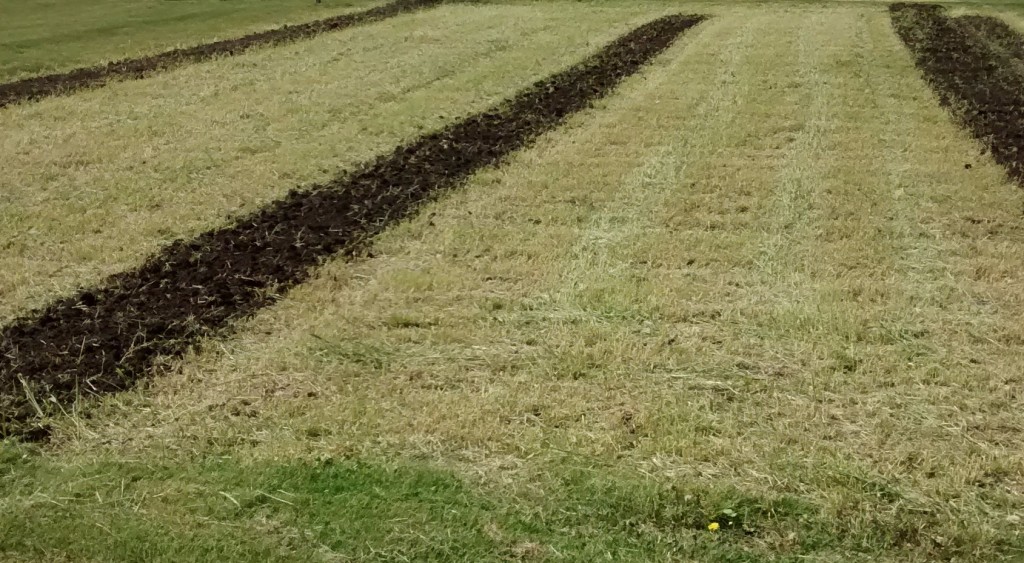
The winter rye residue was easily incorporated into the soil b y the rototiller

The winter rye residue was easily incorporated into the soil b y the rototiller

Another very visible advantage to this cover crop was the lack of weeds this spring. By this time the garden would have been full of all kinds of broad leaf weeds and grasses. Dandelions would have come and gone by now. The rye did its job and out-competed virtually all other plants giving me a head start over the weeds this year.

Bob


May 11, 2017

Mother’s day plant sale at Matthaei Botanical Gardens this weekend

Filed under: Events,Flowers — Tags: , — bob @ 12:05 pm

The Matthaei Botanical Gardens – Nichols Arboretum annual Mother’s Day Plant Sale is coming up this weekend, May 13 and 14.

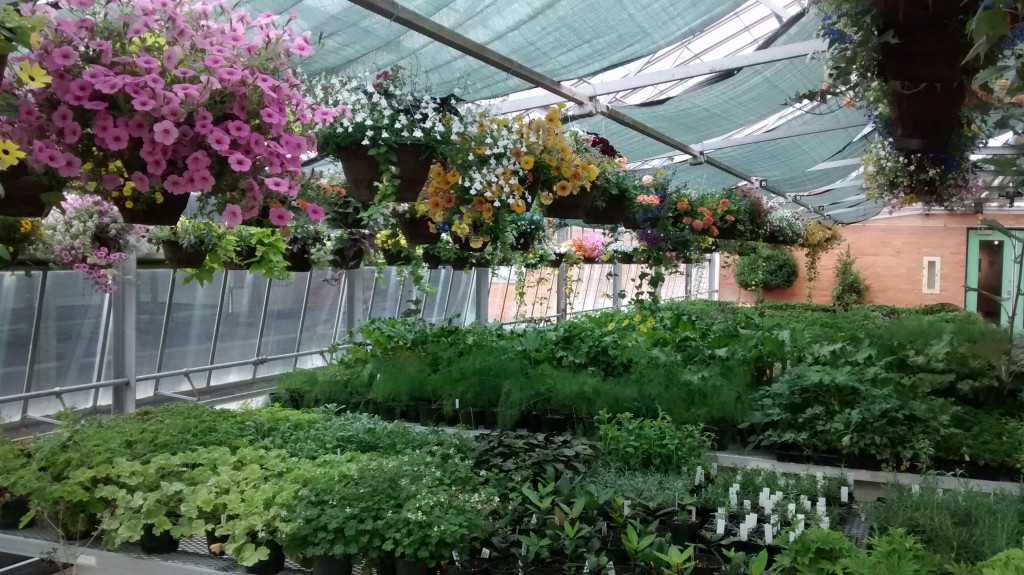
About three weeks ago I visited the Gardens and got a sneak peek at the plants growing in the greenhouse. I can tell you that these are no ordinary, anonymous plants grown by an impersonal factory growing operation. They are lovingly grown and tended by Adrienne O’Brien and her helpers right in the greenhouse at the Botanical Gardens. When I was there, the plants were still young but were growing strong and looked absolutely wonderful.

Horticulturist Adrienne _________ leads  team of plant grower at Matthaei Botanical Gardens - Nichols Arboretum

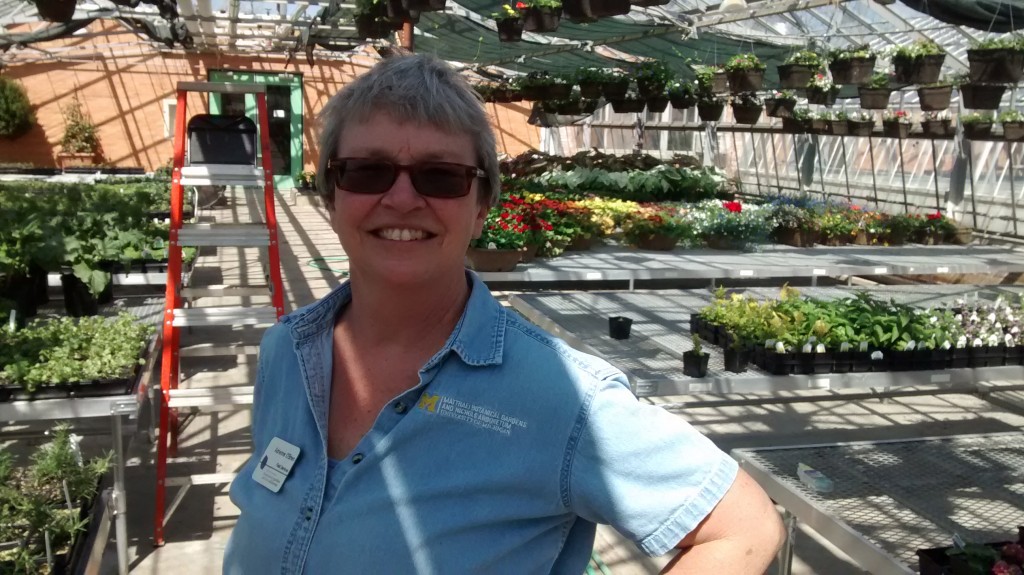
Horticulturist Adrienne O’ Brien leads her team of plant growers at Matthaei Botanical Gardens – Nichols Arboretum.


A month ago Adrienne was worried that the plants were ahead of schedule.

A month ago Adrienne was worried that the plants were ahead of schedule.

Now the plants are ready to go home to Mother’s house.

The plants will be sold in the same greenhouse that they were grown in.

The plants will be sold in the same greenhouse that they were grown in.

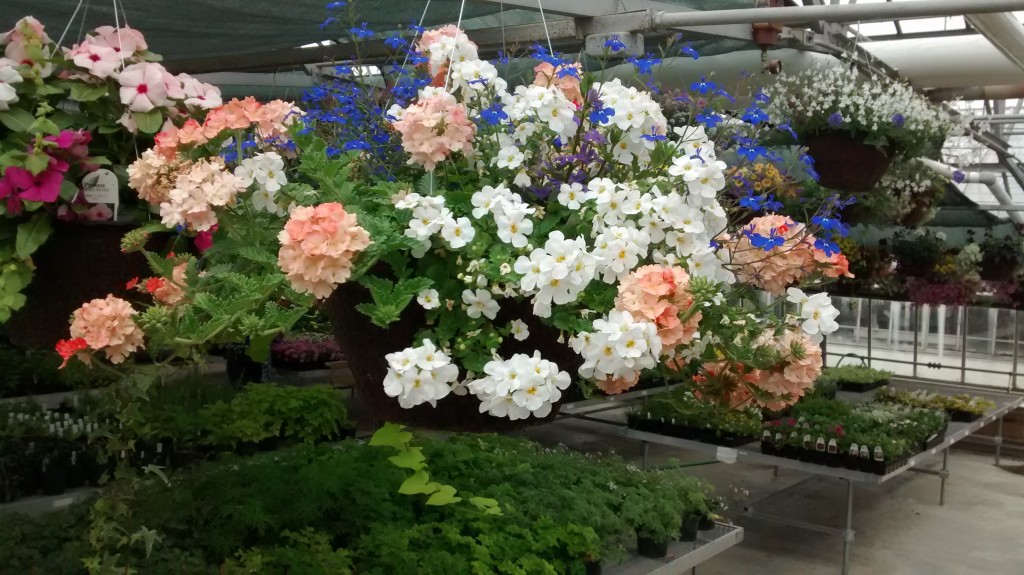
Wide variety of beautiful hanging baskets

Wide variety of beautiful hanging baskets

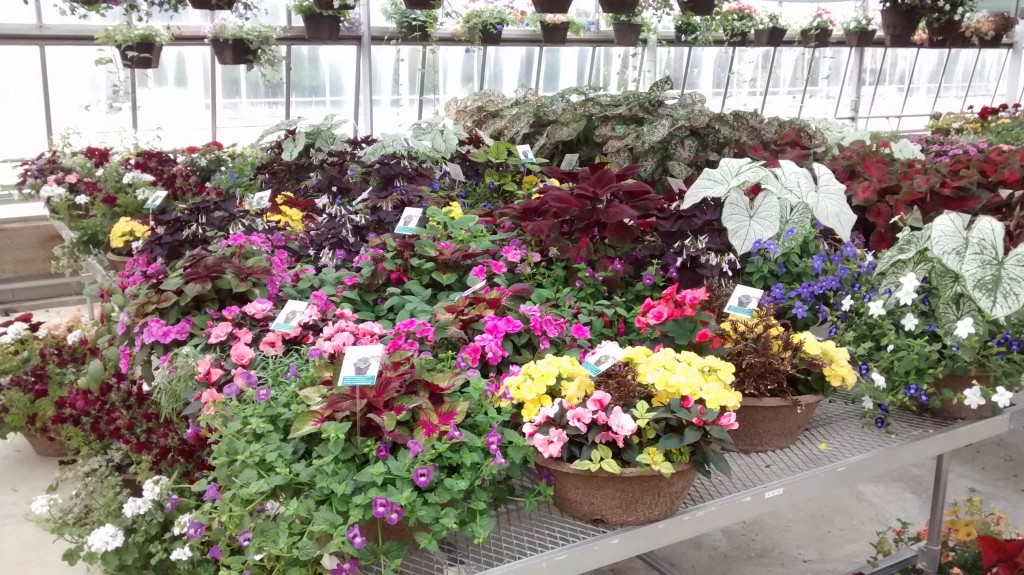
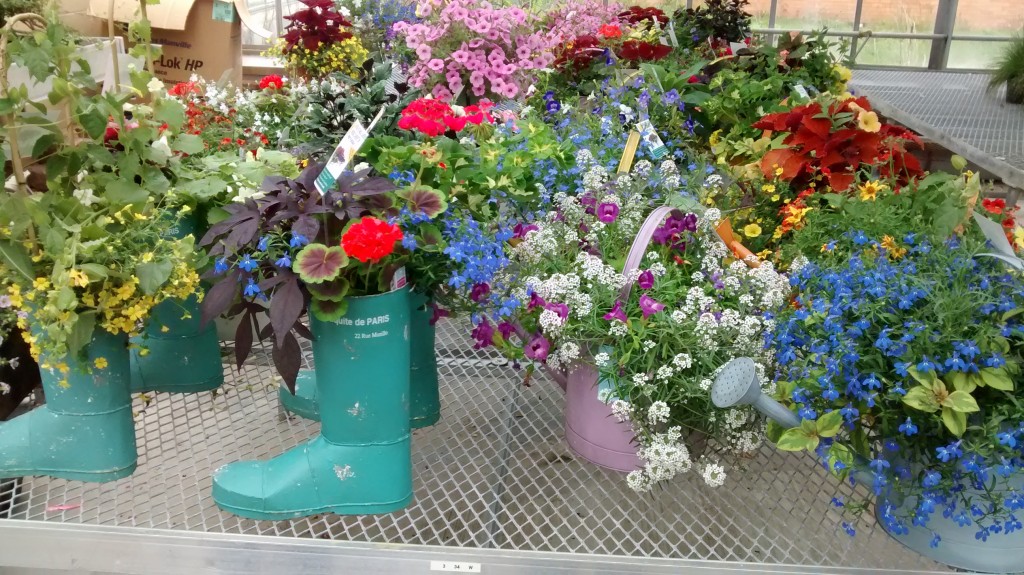
Container plants make a great gift for Mom on Mother's Day.

Container plants make a great gift for Mom on Mother’s Day.

Whimsical planters like these are lots of fun.

Whimsical planters like these are lots of fun.


The sale runs from 10:00 am to 4:30 pm both days (9:00 am if you are a member). Matthaei Botanical Gardens is located at 1800 N. Dixboro Road, south of Plymouth Road, Ann Arbor. See you there!

Bob

May 3, 2017

Planting home grown grape cuttings

This is another episode in the grape vine cutting story that began last spring. At that time I took some pieces of grapevine that I cut off the vines during pruning and used them to start new grapevines. You can browse through my older blog posts to find out about those grapes.

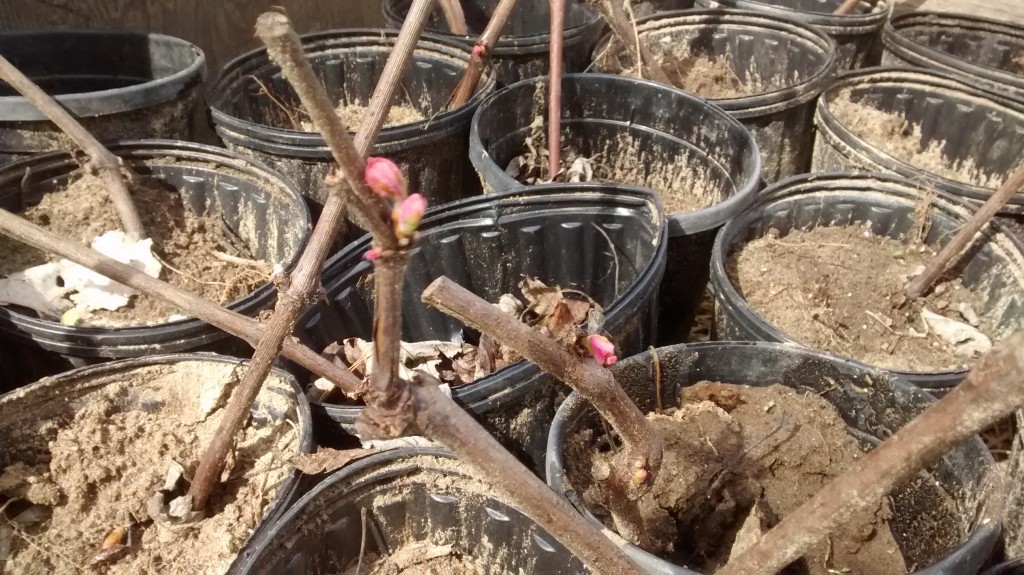
I stuck the cuttings into a soil mix and grew them through the summer. Nearly all of the cuttings developed a good set of roots and had nice tops. Then last fall I buried them in a trench in the garden to help protect them from any potential harsh winter weather. As it turned out, this winter was so mild they probably would have done just fine in their pots with some mulch banked up against them.

The best cuttings had strong leaf buds and plenty of roots.

The best cuttings had strong leaf buds and plenty of roots.

Earlier this spring I dug them out of their trench, set them in a shady spot and made sure they were watered well. I ended up with 15 good plants which was about half of the cuttings I started with.

Last week I planted them into their permanent spots near the edge of the garden. They’re off to a good start in their new location.

Retail prices for grape plants like these can run nine or ten bucks each — before shipping.  Taking grape cuttings can save you lots of money if you’re interested in starting a vineyard. The biggest drawback is that you have to wait a year for the cuttings to turn into plants.

Come to think of it, this grapevine story started way before last year.  Those vines I pruned and took the cuttings from last spring were themselves started from cuttings 15 years ago.

Bob

April 27, 2017

Planting strawberries

Filed under: Fruit,Planting — bob @ 10:24 am

Our strawberry plants were delivered this past weekend, I got them into the ground as soon as I could. After a long ride through the postal system, they were glad to be tucked into our new strawberry bed.

Beginning gardeners may not know that nearly all strawberries are grown from not from seed but from transplants. Strawberry plants reproduce naturally by sending out runners that form plantlets called “daughter plants” that quickly take root. Those new daughter plants themselves will send out more shoots and produce even more daughter plants. Eventually you end up with a dense mat of strawberry plants.

Strawberries should be planted in a well-prepared bed, ideally one that was cleared and tilled at least a year in advance. That will eliminate perennial weeds that will choke out your strawberries before they have a chance to get established. It also will greatly reduce the number of root damaging insects like grubs and wire worms. My new bed is in an area that has been part of the vegetable garden for several years now. I’ve also let the chickens run in this area during the off season. They’ve really kept that spot clean.

In a perfect world, we would plant the strawberries about 18 – 24 inches apart with the rows about two to three feet apart. My row spacing was a bit closer than that because I had more plants than I had room.

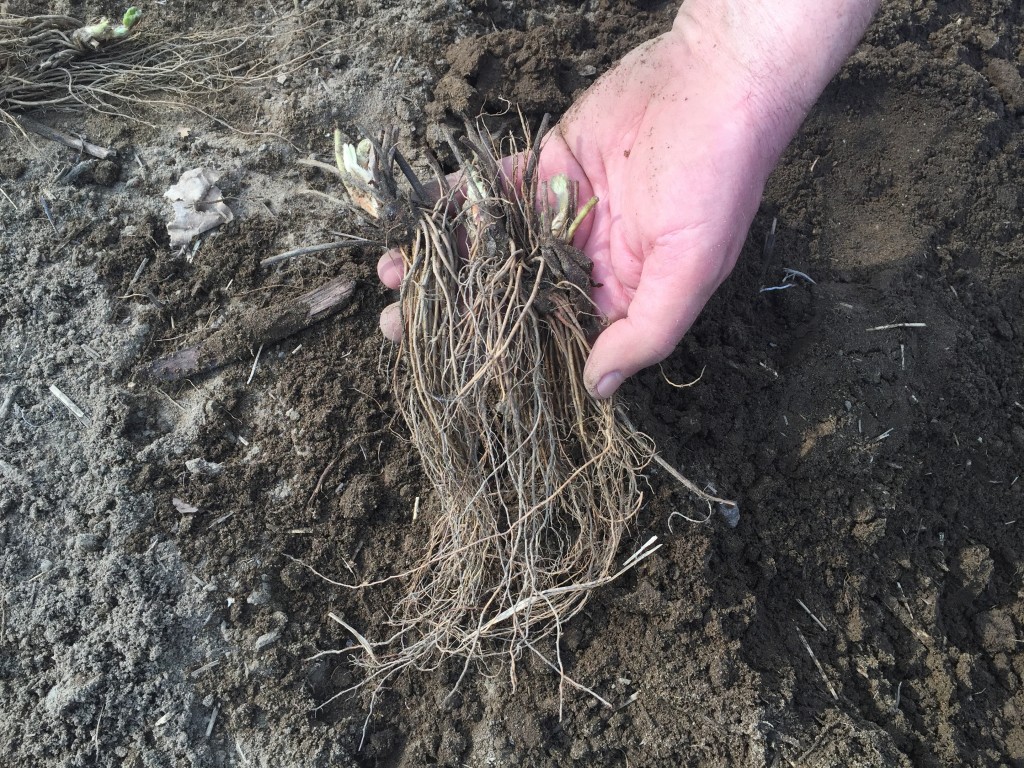
You can think of the plants as having three basic parts: the leaves; the crown, which is the center, bulky part; and the roots. The leaves grow from the top of the crow while the roots grow from the bottom. It’s very important to plant at the proper depth. The soil should just cover the roots without burying the crown. That is how a new daughter plant grows naturally. On the other hand, no roots should be sticking up above the soil line exposed to the air. It’s a matter of about a half an inch between too deep and not deep enough. Make sure there is plenty of room in the planting hole so that the roots are straight down and not curled up at the bottom.

At first glance strawberry plants look like all roots. The crown and leaves are less visible at this stage.

At first glance strawberry plants look like all roots. The crown and leaves are less visible at this stage.

Once your newly planted strawberries establish themselves, they will begin to produce runners and daughter plants. You can shuffle the daughter plants around to a more organized configuration to help maintain rows. That will make it easier to weed and pick later on. Or just let them take root wherever they want.

Pluck the flowers off as they appear, that will keep the plants from wasting its energy producing fruit instead of stronger daughter plants. All those new daughter plants will produce your strawberry crop next year. So the stronger they are, the better your harvest will be.

Keep your bed free from weeds and well watered throughout the growing season. Later, at the end of the season they will need to be mulched. We’ll discuss mulching when the time comes.

Bob

April 13, 2017

What a soil test result readout looks like

You’ve read it here in this blog, you’ve heard it from your neighbor, even your Aunt Bootsie told you to get a soil test for your garden.  I’ve always recommended using the soil testing lab at Michigan State University, it’s the “gold standard” of soil labs in Michigan. For most gardens a basic test will provide you with all the information you’ll need.

In past blogs I’ve described how to properly take a soil sample for testing and what to do with it once you’ve collected it, so we won’t discuss that today. Instead we’ll look at actual soil test results.

Once you’ve rounded up a bag of dirt, sent it to the lab along with your payment, the MSU soil lab will test your sample, processes the results and send you the test results either by email or by mail. That usually happens within ten days.

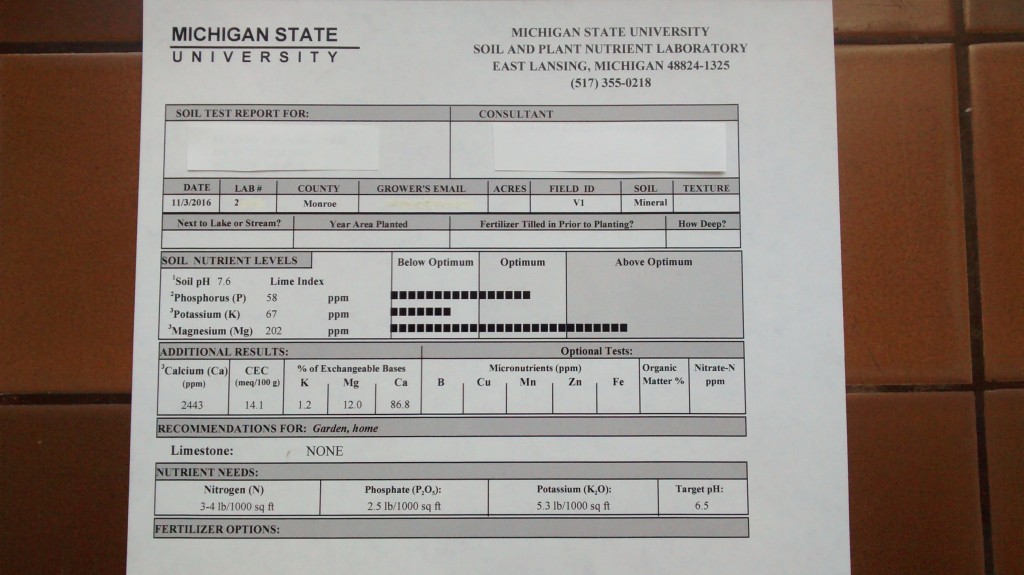
Let’s take a peek at an actual soil test readout I received last fall.

A basic soil test result readout.

A basic soil test result readout.

The first test result is the soil pH. pH describes how acid or how alkaline your soil is with “7″ being neural. In this case the sample result is 7.6 which is somewhat alkaline. So right away we know we won’t have to add any lime to raise the soil pH since most garden plants grow best in a slightly acidic soil.

Next is the result for phosphorus, the “P” in NPK. The result came back at 58 ppm (parts per million) which, according to the graph is well in the optimum range.

Following P we see that is the potassium (K) is 67 ppm which we see is below optimum. Magnesium (Mg) at 202 ppm is above the optimum range.

Calcium(Ca), shown in the additional results section is 2443 ppm which helps to explain the relatively high soil pH reading since calcium will raise soil pH.

The next result is CEC (cation exchange capacity) this tells us how well the soil is able to retain soil nutrients. A reading of 14.1 tells us we can add fertilizer to this garden without having it leach out of the soil. Usually, soil types with a higher percentage of clay in their make-up have a higher CEC and therefore are inherently more fertile because of all the retained nutrients. Very sandy soils have low CEC values. It is very difficult to change the CEC of a soil. On the other hand, we can easily raise the NPK values by simply adding fertilizer.

Those cations (positive-charged ions) that are being described in the CEC reading are mostly K, Mg and Ca. There is a section in the readout providing the percentage of each of those. Phosphorus is not listed there because it exists in the soil as negatively charged anion (PO4 3-).

Nitrogen (N) is not tested for at MSU because soil nitrogen levels change with the temperature and other variables so you would never get an accurate reading.

We don’t have room here to discuss the soil science behind the results. Fortunately, the soil lab boils it all down to some simple recommendations at the bottom of the readout.

The nutrient needs are listed as actual pounds of each element per 1000 square feet. Since fertilizer is not sold as pure nitrogen, phosphorus or potassium, the precise amount of any type of fertilizer must be mathematically calculated. Back in the olden days when I was an MSU Extension Agent and the results were printed with a dot-matrix printer, I made those calculations by hand on hundreds of test results. Nowadays MSU has an online calculator that you can use to figure out how many pounds of fertilizer you would need to apply.

With the planting season rapidly approaching,I suggest you get your soil sample to the lab ASAP. Much like your income tax return; the sooner you send it in the sooner you’ll see your results.

Bob


« Newer PostsOlder Posts »

Powered by WordPress