The Yellow Farmhouse Garden

December 21, 2012

Taking Care of Sauerkraut Crock

Filed under: Storage and Preservation — bob @ 2:20 pm

Sometimes it feels like I’m still gardening even though the growing season is over.

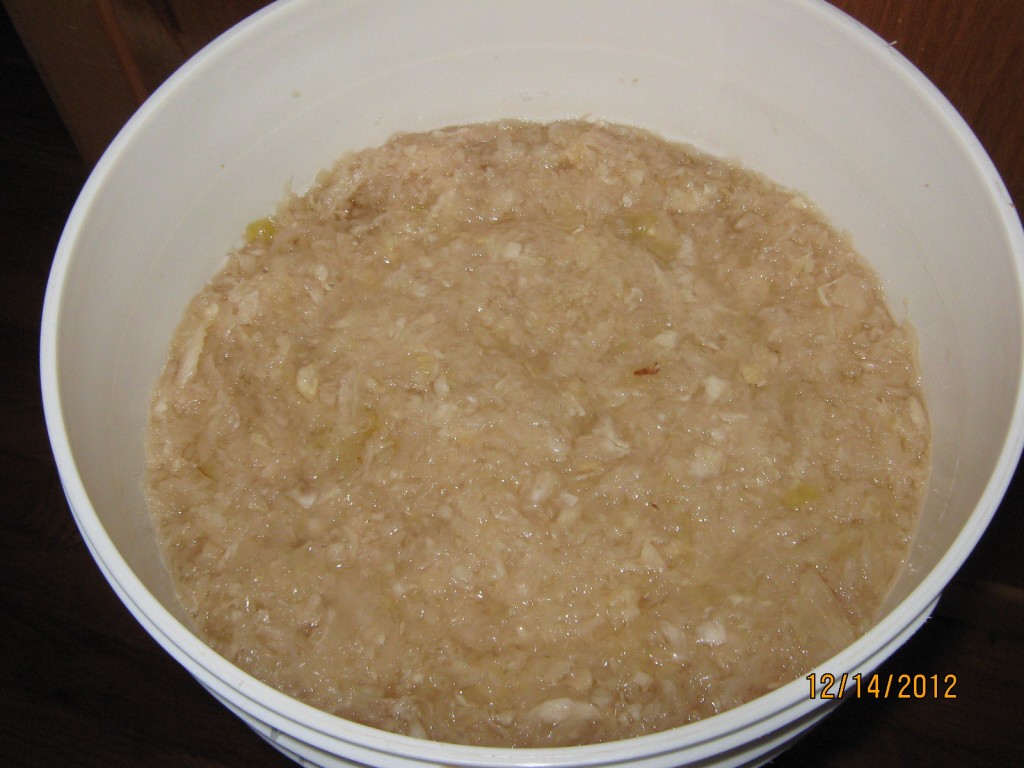
For example, I’ve been tending my batch of sauerkraut for nearly a month now. Every couple of days I check it to make sure everything’s going OK. The anaerobic bacteria that ferment the cabbage can’t tolerate air so, I need to make sure all of the cabbage is covered completely with cabbage juice.

Mold likes to grow on the surfaces of the crock — or food-safe plastic pail — and the plates I use to cover the kraut. Mold has to be cleaned off as it appears. It’s sort of like removing weeds from a garden as they start to grow. The mold is not only unappetizing, but it can spoil the kraut too.

Now that it has fermented for a while, I harvest a smaller layer of kraut every time I check it. If a minuscule amount of mold or aerobic bacteria try to get started there,  it gets removed. Of course, I throw out any that is spoiled.

It took 12 heads of cabbage from my garden to make five gallons of sauerkraut.

So, I’m tending a garden that has billions and billions of probiotic bacteria and they need to be well cared for.

I made my first batch of sauerkraut way back in 1978. It was so successful that I’ve continued to make it ever since. It’s something I look forward to every fall.

I eat my sauerkraut raw, straight from the crock. It has a satisfying crunch and a tangy flavor that is different with each batch. Now, if I cooked it, I’d kill all of those probiotic bacteria I’ve been nurturing.

By the way in my Polish family, everyone calls it kapusta, not sauerkraut.

Bob
December 7, 2012

Planning Ahead for Spring Evergreen Planting

Filed under: Shrubs,Trees — bob @ 2:30 pm

This week I’m helping a friend decide where to plant some evergreens in his yard.

Now is the perfect time to make those decisions because the leaves are gone from the trees and bushes in the yard.  Since evergreens keep their leaves or needles, their deep green color will stand out from the rest of the vegetation during the winter. So, it’s important to place them in the right spot. We’re trying to  get a better idea how an evergreen will look in the yard space next winter and the following winters.

The other reason we’re doing the planning now is because we won’t be distracted by all of the spring time foliage of the other trees and shrubs. It’s too easy to get fooled into picking the wrong spot for your evergreen and regret the choice next winter.

We’re going to visually survey his yard and try to imagine how the evergreens will look in a different places around the property. Also, I keep reminding him that we need to keep in mind how big the trees or shrubs will get as they grow through the years.

Once we make the final decision, we’ll drive a stake in each spot to remind us of the planting spots. The actual planting will take place next spring.

This is not a fool-proof method but it gives us more information to help us make the best planting decision.

November 30, 2012

Bringing in Rosemary for Winter

Filed under: Herbs — bob @ 4:34 pm

Last spring, I had a rosemary plant in a six inch pot that over-wintered in the garage.  It looked like it could use a vacation, so, I took it out of its pot and planted it directly into the garden.

While in the garden, it suffered the regular abuse that you expect a rosemary plant to endure.  Whenever I needed rosemary for cooking, I pulled off  leaves. Also, I tore off a few stems to use for starting some new plants from cuttings. It certainly didn’t get coddled during the summer.

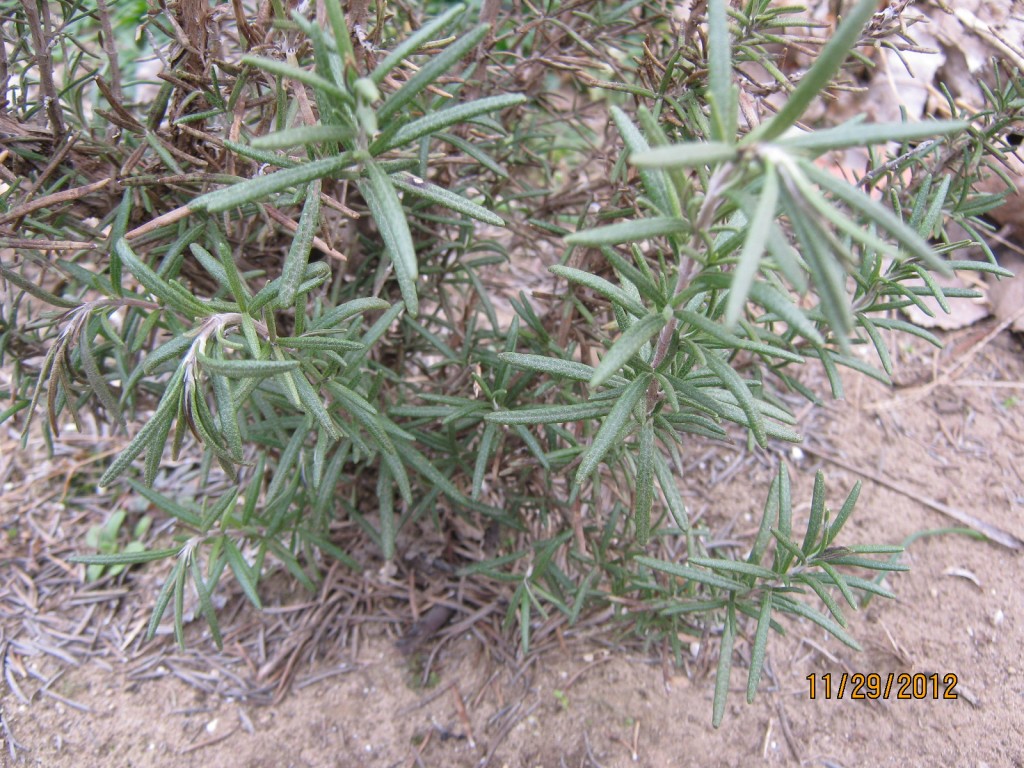
Some stems look vigorous while others look stressed on my rosemary.

This fall it survived those nights when the temperatures  dipped down into the teens. Normally, rosemary can’t deal with our harsh winter temperatures. I have in the past, had one or two, by chance,  survive a mild winter.

This week, I finally decided to dig and re-pot this tough little plant. Despite all of the abuse and neglect, the roots grew large enough to fill a 12 inch pot. Also, the dead and damaged stems needed some pruning.  Otherwise, it looks to be in pretty good shape.

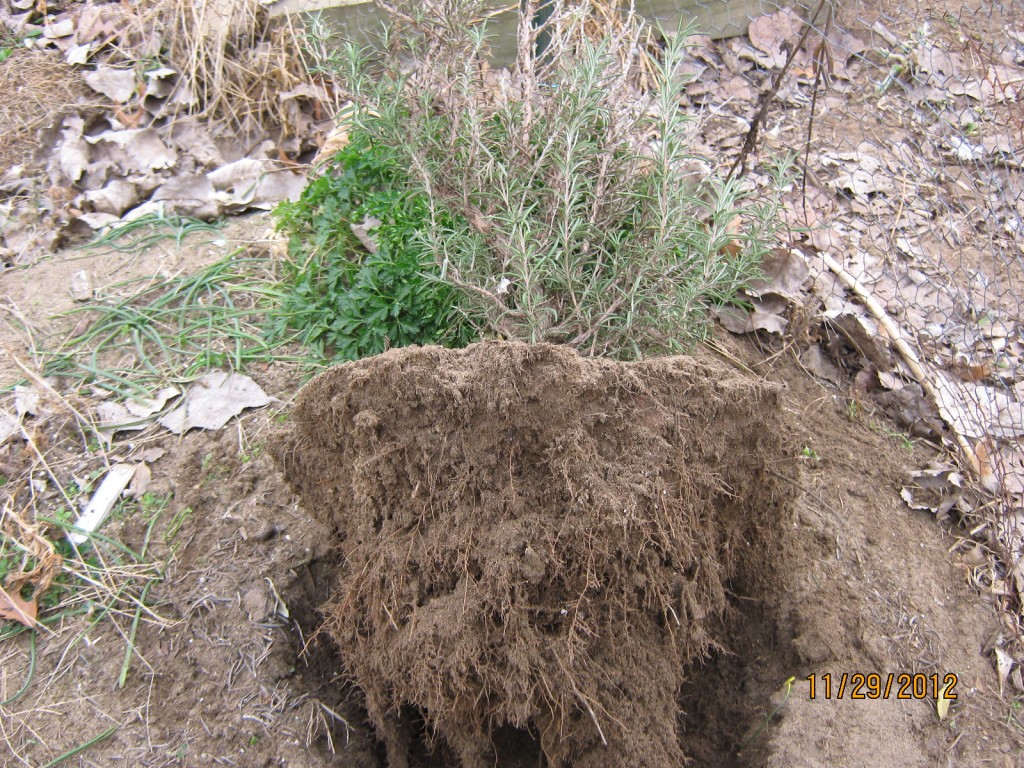
I was careful to leave the root-ball intact when digging my rosemary.

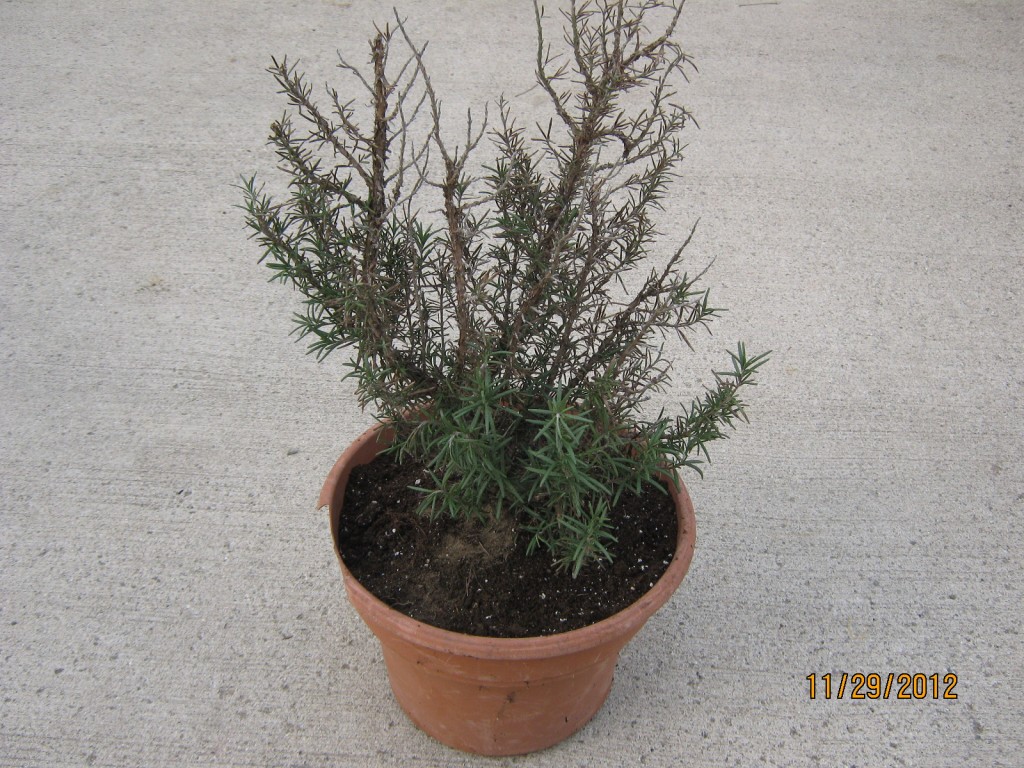
The plant grew large enough to need this 12 inch recycled plastic pot.

My plan is to let it rest in our cool, dimly lit garage over winter, just like last year and plant it out in the garden again next spring.

Bob

November 16, 2012

Lime Garden in the Fall

Filed under: Fertilizers,Soil — bob @ 6:06 pm

The weather people are predicting a string of nice days through the weekend and into next week.  Many of us will looking for things to do out in the yard and garden.

Because November is the ideal time to apply lime,  this weekend would be a good time to check the pH of your garden soil.  If you have been fertilizing your garden regularly for several years in a row, the chances are your soil may need lime.

Lime is a calcium-based soil amendment that farmers and gardeners use to sweeten garden soil — raise the soil pH.

It’s not a good idea to just guess if your soil pH is low, your soil has to be tested. Fortunately, this is one test you can do yourself with a pH test kit from a garden center. These kits are pretty accurate. Just make sure you buy a fresh test kit because the test-chemicals will get old over time and produce an inaccurate reading.

There are several different types of lime and each type has a different application rate.  Don’t worry though, all lime containers have application instructions printed on them. The amounts are usually given in pounds per 100 square feet or 1,000 square feet depending on the size of the bag.

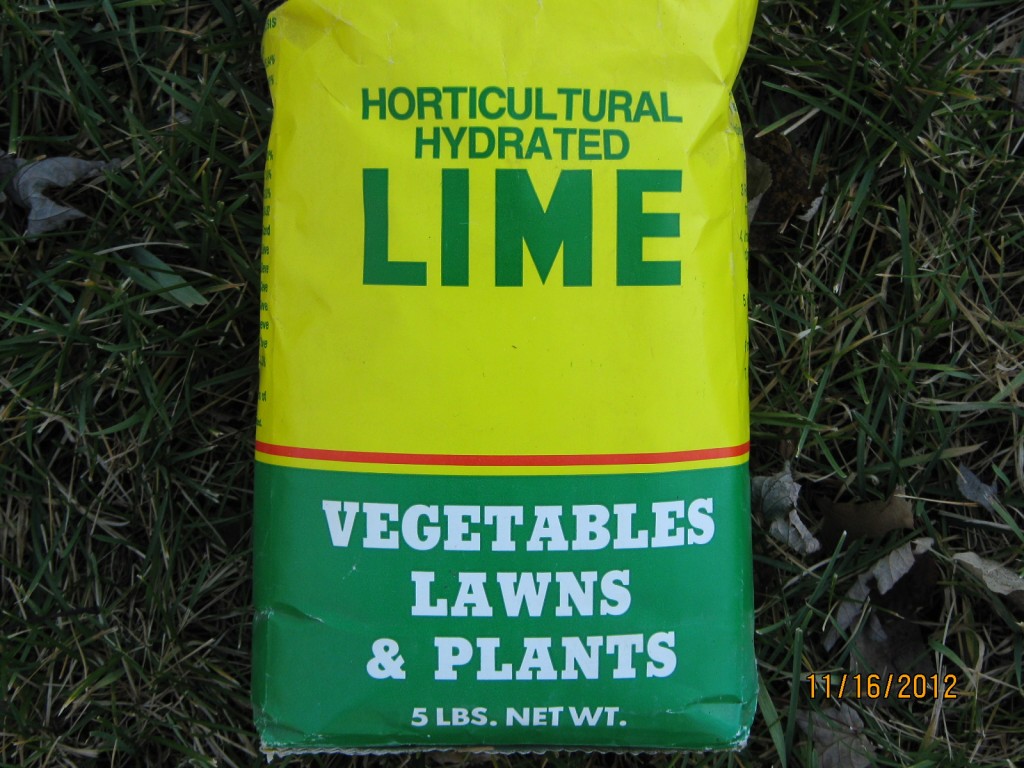
In many cases a five pound bag of lime will be all you need to treat 100 square feet of soil.

Keep in mind, that sandy soils need liming more frequently than loam or clay soils.

Lawns too, will benefit from a fall application of lime if the soil pH tests low.

So, there’s your excuse to head out to the garden center, pick up some supplies and get some productive work done in your garden.

Bob

November 2, 2012

My New Potato Digging Fork

Filed under: Tools and Equipment — bob @ 9:38 am

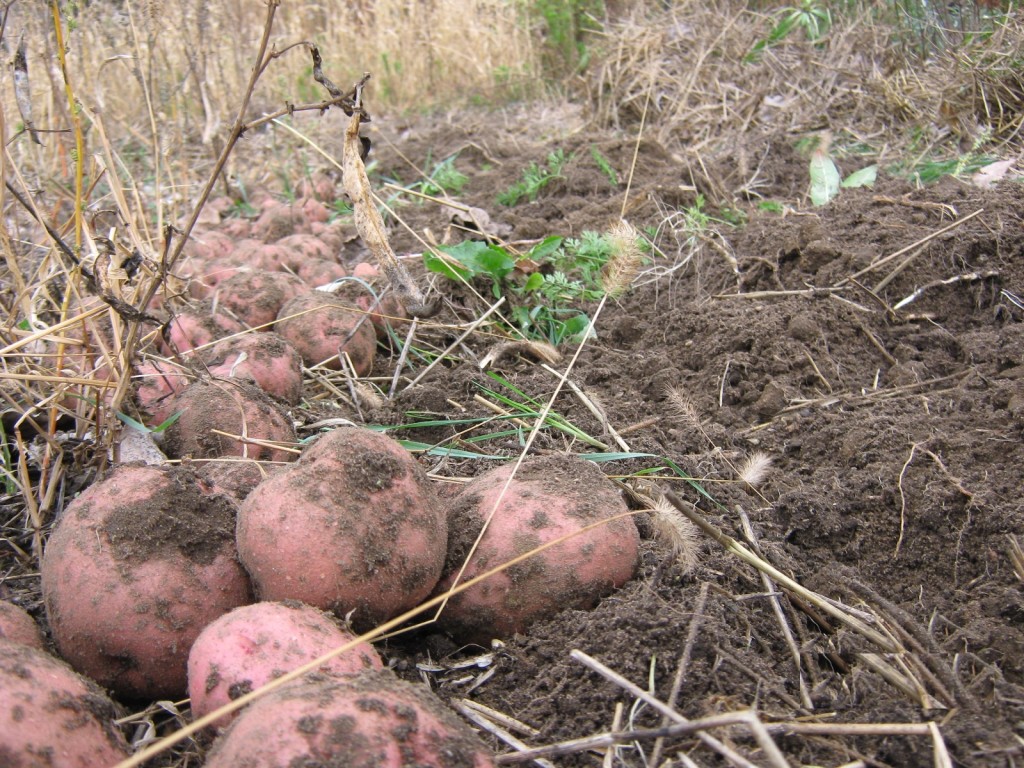
Earlier this week I was out in the garden digging the last of my potatoes.  I had the cold northern winds from hurricane Sandy to keep me company. So that gave me the incentive to get the job done before lunch.

I got a chance to use the antique potato-digging fork I found at an estate sale this summer. It’s a rather hefty tool with several heavy steel tines.  While I was standing in line to pay for it, a guy offered to buy it from me so his son could use it to spread bark mulch. If his son knew, I’m sure he would thank me for not selling it to his Dad. Then, a lady told me she wanted to take it apart and have a blacksmith bend it into a coat-hook. I was glad to save it from that fate.

At first, it was a real struggle wrestling that beast of a tool. I almost traded it for my lighter weight garden fork but decided to keep going.

The secrete I found was to use the weight of that steel to my advantage. By directing the downward force of the tool into the garden soil, I was able lift many more spuds with each forkful than with my garden fork.

I got the job done before lunch and have about 150 pounds of potatoes stored for the winter. The potato-fork has earned a permanent spot in garden tool collection.

« Newer PostsOlder Posts »

Powered by WordPress