The Yellow Farmhouse Garden

June 15, 2012

Drying Some Early Harvested Cilantro

Filed under: Herbs — bob @ 3:45 pm

It has been pretty dry in the garden for the past several days. The plants have begun to show a little drought stess but I’ve been able to keep up with watering.

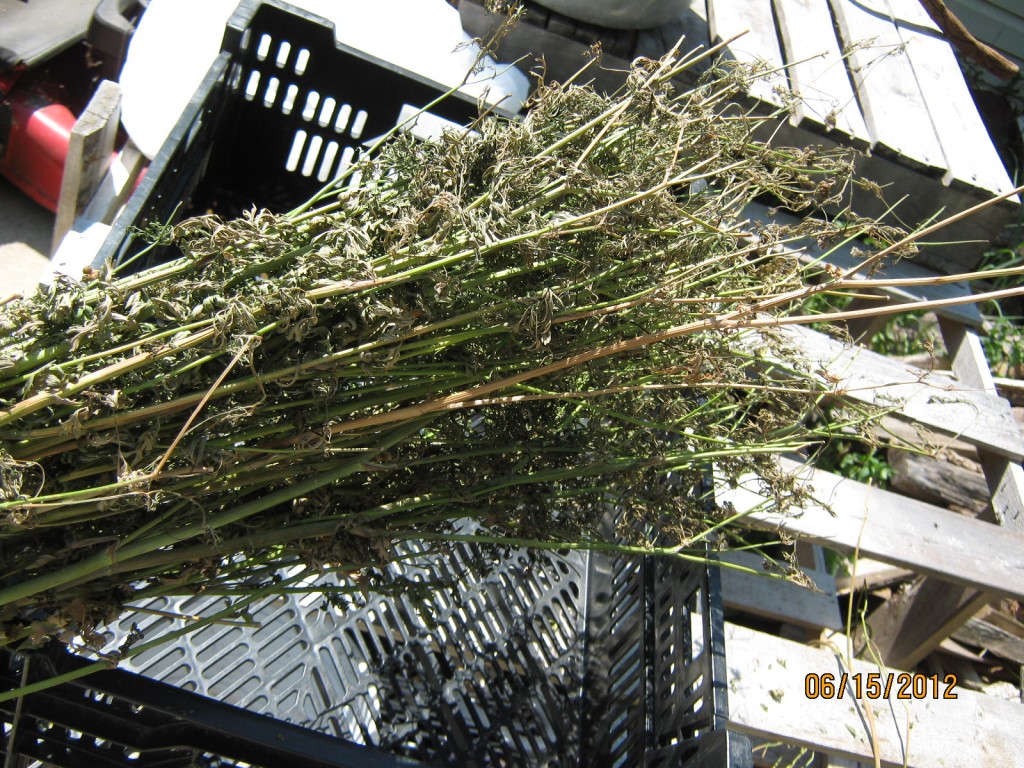
I took advantage of the dry weather by drying some cilantro. I had some that was started early and needed to be harvested.

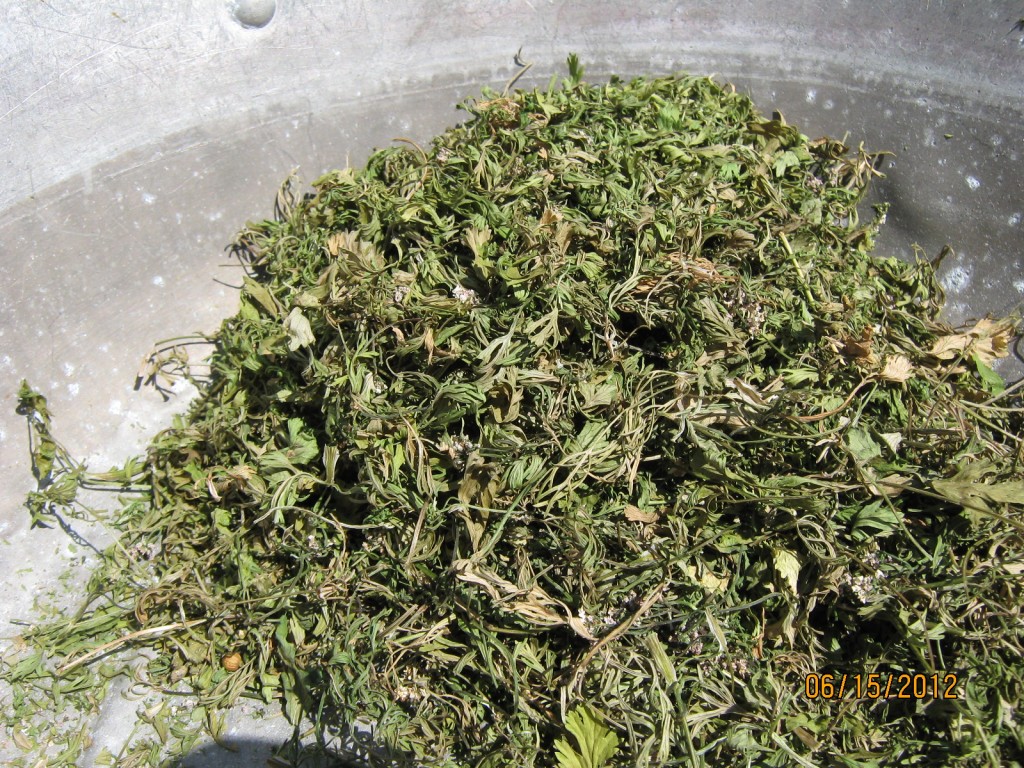
There was way too much to use fresh so, on Monday,  I gathered them up in a bunch and set them outside on a wire-top table. The bunch stayed there day and night. Today, Friday, the cilantro was dry and ready to go.

The leaves stay on the stems when drying in bunches like this.

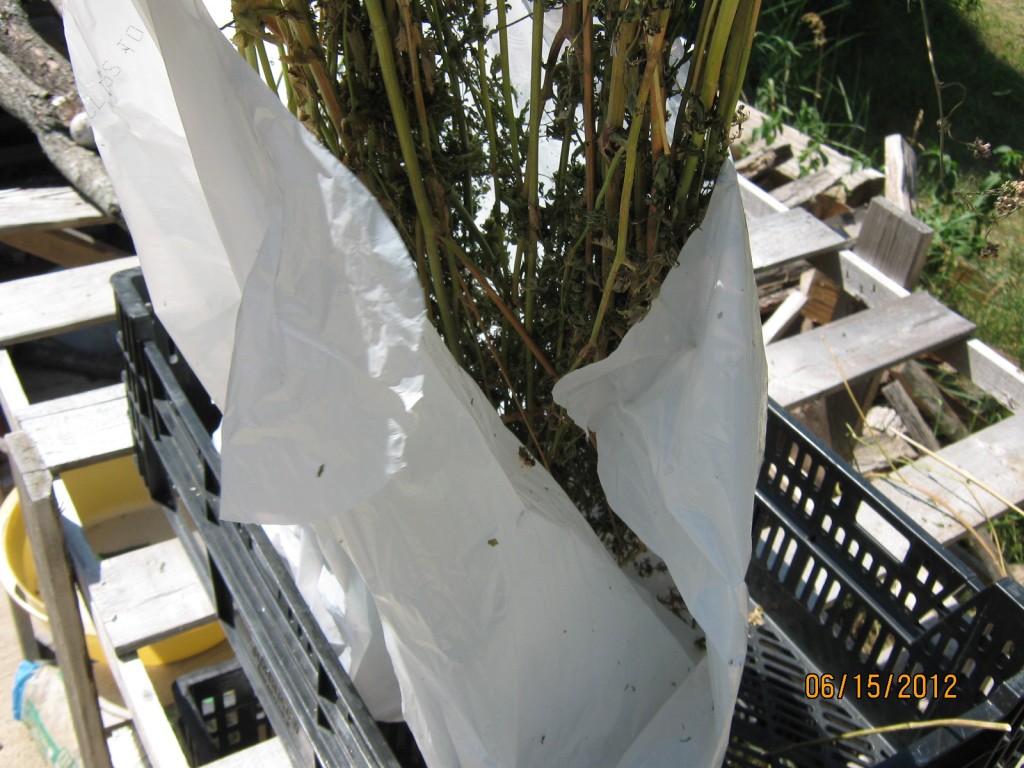
I took  a clean trash bag and slipped it over the bunch.

A new garbage bag works great for collecting cilantro leaves.

By rubbing my hand over the stalks, I was able to easily separate the leaves from the stems. The dried leaves fell into the bag and in five minutes I was done.

Now I have more dried cilantro than I know what to do with.

I compared the price of dried cilantro for sale on Amazon with the amount I managed to gather. Wow! Talk about getting a feeling of satisfaction.

Bob

June 13, 2012

My Hand-powered Rotary Hoe

Filed under: Tools and Equipment — bob @ 9:58 am

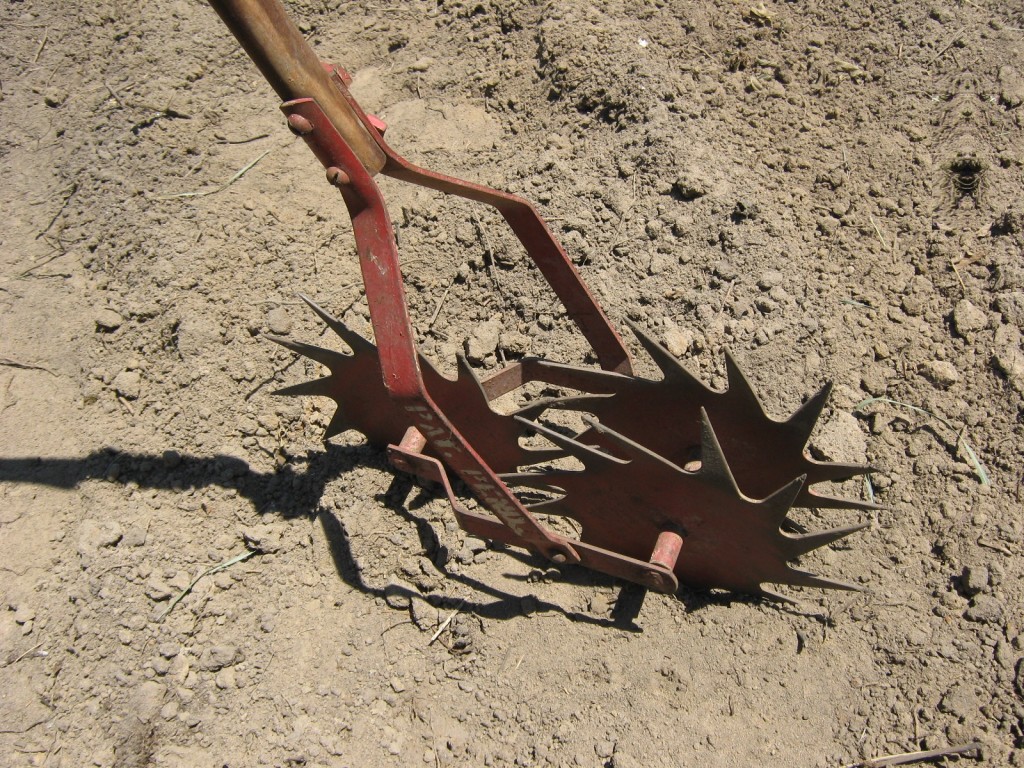
I own a lot of different kind of gardening tools. The most unusual one has to be my hand-held rotary hoe.

The single star is the front of the hoe. The handle pivots to allow the tool to be pushed or pulled.

Farmers have been using large rotary hoes for decades. These are non-powered tools, not to be confused with rotary tillers. They were especially popular in the days before chemical herbicides came into wide-spread use.

The design is basically a series of specially shaped discs mounted side by side on an axle 10 or 12 feet wide. There are different configurations; some discs are star-shaped, others have small spoon-shaped ends attached around the circumference of the disc.

To use a rotary hoe, the farmer pulls the hoe behand a tractor at a fairly fast speed. The star points enter into the soil at about  90 degrees — straight down. As it moves forward and  rotates, the point leaves the soil at an angle lifting some soil at the same time. This lifting action pulls up germinating weeds.

It is the weeds you don’t see — those still underground — that get destroyed. By the time you see the first leaves poking up out of the soil, it is almost too late to rotary hoe.

A rotary hoe in action runs right over everything in its path — the crop plants as well as the weeds. The crop plant, usually corn, is well-rooted and can’t be yanked out by the hoe. The leaves get torn up in the process but the corn plant recovers quickly.

Chemical herbicides, increasing labor costs, and high fuel prices caused most farmers to abandon their rotary hoe years ago. Many organic farmers still use them however.

My little hoe is a just a scaled-down version of those large,  farm implements. It actually works quite well whenever I remember to use it early enough.

What’s your most unusual gardening tool?

Bob

North Dakota State University has a good technical article about using a rotary hoe on the farm: http://www.ag.ndsu.edu/pubs/plantsci/weeds/w1134w.htm

June 1, 2012

Eyed Elater Beetle – Big Eye Click Beetle

Filed under: Insects — bob @ 11:00 am

A couple of days ago an unexpexted guest showed up in front of our garage door. It was a big, two-eyed, scary-looking beetle that was just sitting there, motionless — looking like it was dead.

It was easy to scoop up into a jar so I could have someone take a look at it for identification. Adrienne O’Brian at U of M’s Mathhaei Botanical Gardens in Ann Arbor, identified it as an Eyed Elater — a member of the click beetle family.

As it turns out, playing dead is one of the survival behaviors of the Eyed Elater. And those “eyes”; they’re just markings, not real eyes.

This Eyed Elater looks scary but it doesn’t bite.

You don’t get to see these very often because they spend most of their lifetime as larvae — sometimes up to six years. During that stage, they live in decaying wood looking for wood-boring beetles to eat. So, they really are beneficial insects. The adult beetles don’t eat much — they’ll sip on a little plant juice once in a while.

Over the years, during my time spent out in the woods harvesting firewood, I’ve seen the larvae but never stopped to make the connection between them and the adult beetle.

When any member of the  click beetle family is placed on its back, it will try to get on its feet by quickly arching its back and snapping back into position. This causes it to flip into the air with a “click!” sound. The smaller click beetles are fun to watch, but this Elater is really something to see.

Since my Eyed Elater is one of the good guys, I’ll take him back out to the woodpile so he can live out the rest of his life without anyone bothering him anymore.

Bob

here’s a link to a good article about Eyed Elater and click beetles

May 25, 2012

Planting Sweet Potato Slips in Raised Beds

Filed under: Vegetables — bob @ 9:49 am

Sweet potatoes are a great substitute for white potatoes in your diet.  Many people can’t — or shouldn’t — eat white potatoes.  White potatoes contain small amounts of  solanine a chemical compound that can trigger painful arthritis flare-ups in some people.  Sweet potatoes belong to an entirely  different plant family (morning glory family) so they do not contain solanine.

The most common and economical way to plant sweet potatoes is to plant slips.
Use sweet potato cuttings, called slips, for planting. Here is a bundle of slips that I bought from a garden store greenhouse.

Sweet potatoes require warm soil and weather conditions to grow and thrive.  They also require a fairly long growing season to produce the largest harvest.  That means you need to get them into the ground early — as soon as the soil temperature reaches 60 degrees F and the chance of frost is over.  In our area, SE Michigan, one way to increase soil temperature is to build raised beds.
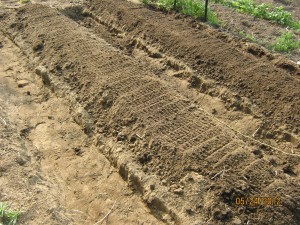
These sweet potato beds are about 18 inches wide.

I built simple raised beds by digging a shallow trench next to the bed. The topsoil from the trench is piled up onto the bed.  These crude beds are designed to settle and become flatter as the season progresses.  But, for now, they provide a warm environment for young sweet potato plants.
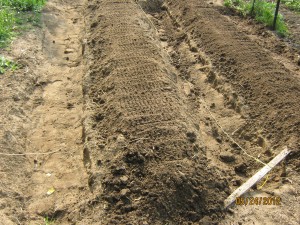
These sweet potato beds are separated by the trench.

Plant the slips by digging a small hole in the center of the bed.  Place the slips deep into the soil. Leave only the top leaves sticking out of the ground.  Then add a slash of starter fertilizer or soluble plant food to the plant.
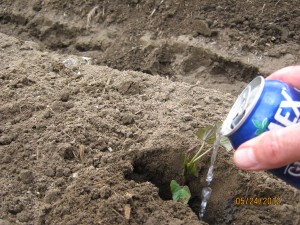
For small planting projects, I find a soft drink can works well for applying soluble fertilizer. The pour spout helps me control the amount of fertilizer I add.

Tuck the soil around the slip and you’re finished.
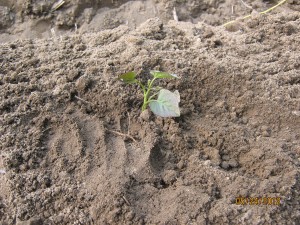
This sweet potao slip is tucked in and ready to grow.
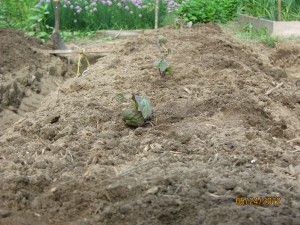
The sweet potato slips have plenty of room to grow.

My slips are about 16 inches apart in the row; this gives them plenty of room to grow. Make sure you water your plants regularly to keep them growing. Additional watering later in the season will help them produce plenty of large roots.

Keep the weeds out of your sweet potato patch especially when the plants are still small.  The leaves of the growing plants will start to fill in empty spaces and keep weeds from getting a start.  As the sweet potato vines grow larger and larger, weeding will become easier as the growing season progresses.

Bob
May 22, 2012

Damaged Apple Buds

Filed under: Fruit — bob @ 11:16 am

I checked my apple trees this week to see if there were any apples left after that freeze we had a couple of weeks ago. I found only a handful of small apples that looked like they could grow on to maturity.

Over 99 percent of the buds were frosted and subsequently fell off the tree. I found a few buds that were still hanging on but, once I touched them with my finger, they fell to the ground.

Apple buds
The tiny apple on top will probably grow into a mature fruit. The small bud below was killed by the frost and has already separated from the tree.

There are other small, growing fruits left on the tree but many of them are deformed. In those cases, the cold temperature killed only part of the bud. They will grow to maturity but will still be gnarled.

We have only a few trees — imagine having acres of trees and having to depend on them for your livelihood.

The question now is, do I continue to spray? I probably will spray a few times, just to help keep insects and foliage diseases in check.

Bob

« Newer PostsOlder Posts »

Powered by WordPress