The Yellow Farmhouse Garden

October 29, 2010

Forced Bulbs, A Cure For The Inevitable Late Winter Blahs

Filed under: Flowers — bob @ 4:30 pm

Our autumn has been quite pleasant so far but before you know it we’ll be  into the winter season.  Christmas and New Year’s are always festive but by the time February rolls around, most of us begin to tire of  the seemingly endless gray days.

By starting a fun project right now, you can head off some of those late winter doldrums in a small way.  Tulips, hyacinths, daffodils, crocus and others can be coaxed into blooming several weeks before their normal flowering season by a process known as “forcing”.  Forcing done by large commercial growers is a complex affair following certain standard procedures to ensure maximum profitability. Home gardeners can use  similar but much simpler techniques to accomplish the same thing.

The first thing to do is get all of your materials together. You’ll need pots or some kind of container (I like six inch pots), potting mix and of course bulbs. I advise gardeners who have never forced bulbs before to start out using tulips.

Fill your pot with enough soil so that the top of the bulb is nearly level with the top of the pot. Do not compact the soil, leave it loose to encourage quick root formation. Then gently place the tulip bulb onto the soil, again don’t press them down. Finally cover the bulbs with more soil leaving  at least 1/4 inch watering space.  If you look at a tulip bulb you will see that it has a pointed top, a bottom and one side that is flat. Place the flat side facing outward. By orienting the bulbs this way you will get the best arrangement of leaves and flowers as the plants bloom.  Keep the soil moist and do not use any fertilizer.

Your planted bulbs will look something like this. Here I have seven small hyacinths planted into a six inch pot. Usually you can fit five or six tulip bulbs into a pot this size.

Spring flowering bulbs need a cold period of at least 13 weeks in order to bloom properly.  So you must find a cold spot to store your pots during that time. The ideal temperature for this cold period is somewhere around 35 to 48 degrees F.  Older homes may have an unheated root-cellar, sometimes known as a Michigan Basement, that will provide the needed conditions. Otherwise, a spot in the garage might fit the bill. I have seen gardeners keep their forcing pots in the window-wells next to the outside walls of their house.

If you decide to store your pots outside, you may want to cover them with screen in order to keep out mice and voles that will feed on the bulbs. Keep the soil moist during this period so that you maximize root growth which will in turn maximize blooming.

After the 13 week cold period is over, you can begin bring the pots into the house. Don’t put them in direct sunlight. As they warm up, they will start to grow leaves and begin to flower.

You can utilize the same techniques that were employed to create this indoor winter display at the Matthaei Botantical Gardens.

There is nothing like your own home-grown forced tulips to brighten up those gray days in February and they make great gifts too.

Bob

October 23, 2010

Plant Garlic in the Fall for Summer Harvest

Filed under: Herbs,Vegetables — bob @ 2:16 pm

In past years I have written about the subject of planting garlic.  I think it never hurts to remind experienced gardeners that they need to get that garlic in now. Also, there may be new readers that would like to try their hand at growing their own garlic.

To grow garlic like these, you need to follow a few simple guidelines.

To get garlic like those shown in the photo, you need to follow just a few simple guidelines.

The most important thing to keep in mind is that garlic needs to be planted in the fall.  That means if you are thinking about doing it, now’s the time.  Fall planting allows the plant to establish roots before the ground freezes. You can plant garlic in the spring but keep in mind that the bulbs will be quite a bit smaller that if you planted now. Don’t wait too late in the season either. Planting too late in the fall will have similar results as spring planting… small bulbs.

I should mention that garlic is planted from cloves separated from a garlic bulb. If you are planting a small crop, one or two bulbs from the grocery store will work fine.  So called seed garlic is available from seed suppliers for those who want to plant a larger amount.

Since garlic is considered a heavy feeder, be sure the area you select has fertile soil and full sun. Addition of manure or compost is always a good idea.

After separating the cloves, place them into the soil at a depth of one to two inches.  You can dig a furrow  and set the cloves into it or just push them into the soil.  They need to be about six inches apart so they have room to grow next spring. The space between the rows should be at least six inches or more depending on the amount of space you have.

Once the soil freezes, mulch the area with straw, leaves, grass clippings or something similar to a depth of  four to six inches. Your new garlic will be happily tucked away and protected against the harsh winter conditions and freezing and thawing cycles.

Next spring rake off the mulch to let them begin their growth.

Keep in mind that garlic cannot compete against weeds. Any weeds present will drastically reduce your harvest.

Bob

October 5, 2010

Bees in the Trees

Filed under: Bees — bob @ 3:29 pm

A few days ago my sister Vickie stopped by to visit and feed the chickens a treat of dry bread. While we were talking she asked me, “why didn’t you tell me you had a bee’s nest near your driveway?” I answered that I didn’t know what she was talking about.

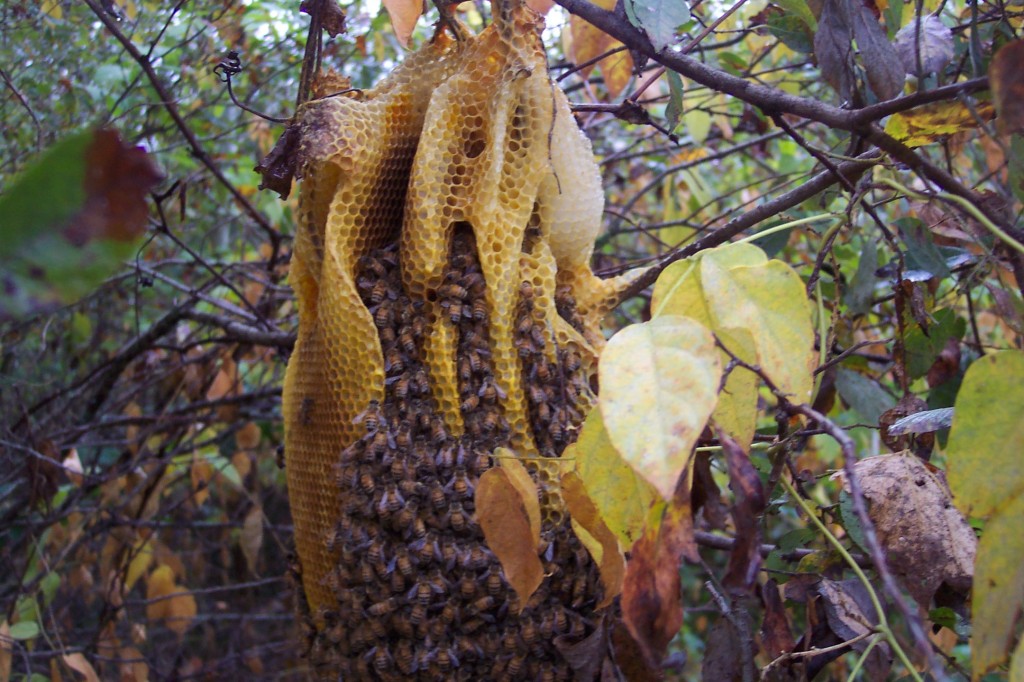
It turned out that earlier in the summer a honeybee swarm had settled into a brushy area near my driveway. Instead of looking for a hollow tree or abandoned shed, they must have felt that they were adequately protected from elements and started to build honey combs right out in the open.  I hadn’t seen the hive because the undergrowth was too thick, it wasn’t until the leaves started falling that the bees became visible.  Honeybees will do this from time to time.

These bees were not visible until the leaves started to fall last week.

When bees do this, they use their own bodies as a wall to protect the Queen bee and her brood inside the nest.  This means that fewer worker bees are available to forage for nectar and pollen because they are preoccupied with keeping the hive warm and protected.  Fewer foragers means less honey and that equals less food available to the hive for use during the winter.  In our area, a hive like this would be unable to survive the winter without shelter.

Not wanting  to see them die a sure death, I decided to help them endure the upcoming winter by placing them into a beehive body made from a standard size wooden box used to keep bees. I’m feeding them sugar syrup to supplement the Goldenrod and Aster nectar they are collecting.

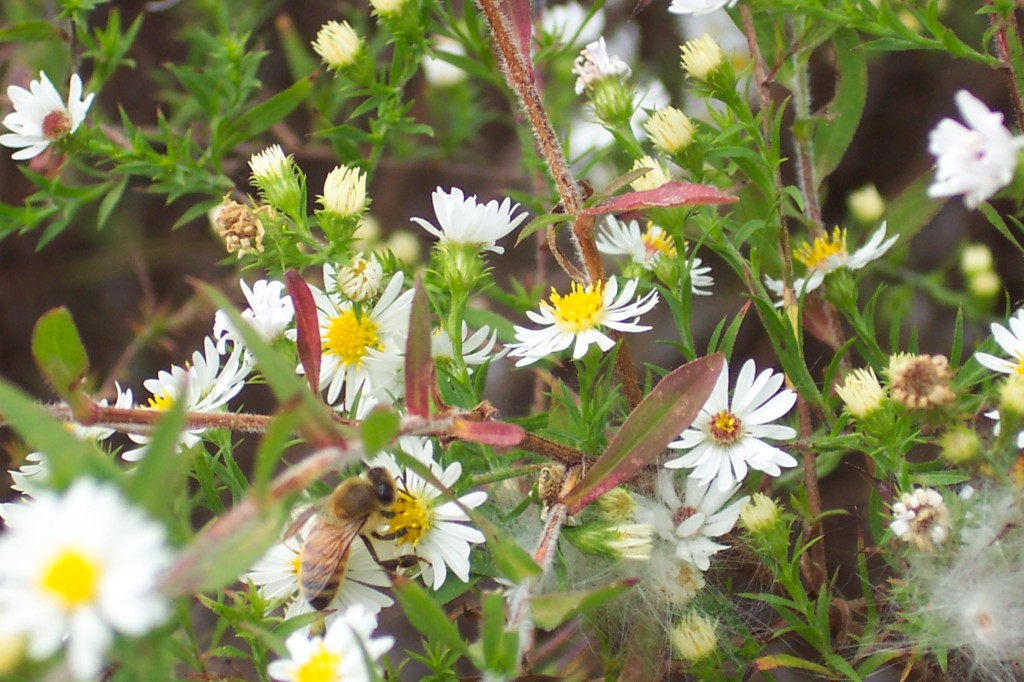
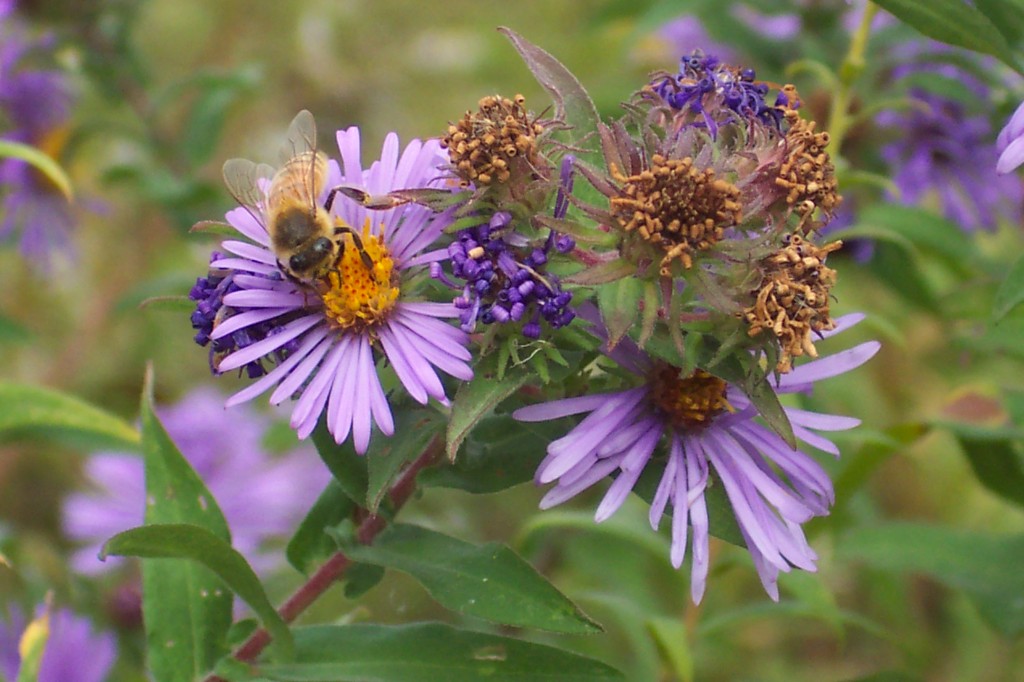
This honeybee is collecting nectar and pollen. Note the pollen she is carrying on her legs.

This was not a very large cluster of bees as far as bee hives go.  So they may not survive the winter anyway but at least I gave them a better chance than they would have otherwise.

Feral bees like these play an important part in the world of beekeeping. Since they are survivors they have the potential to carry important genetic traits that may make them resistant to the many diseases and parasites that plague bees.

I have more photos of the colony and moving the bees posted on line at my other site.

Bob

Moving Feral Honeybees Into A New Home

Filed under: Uncategorized — bob @ 2:27 pm

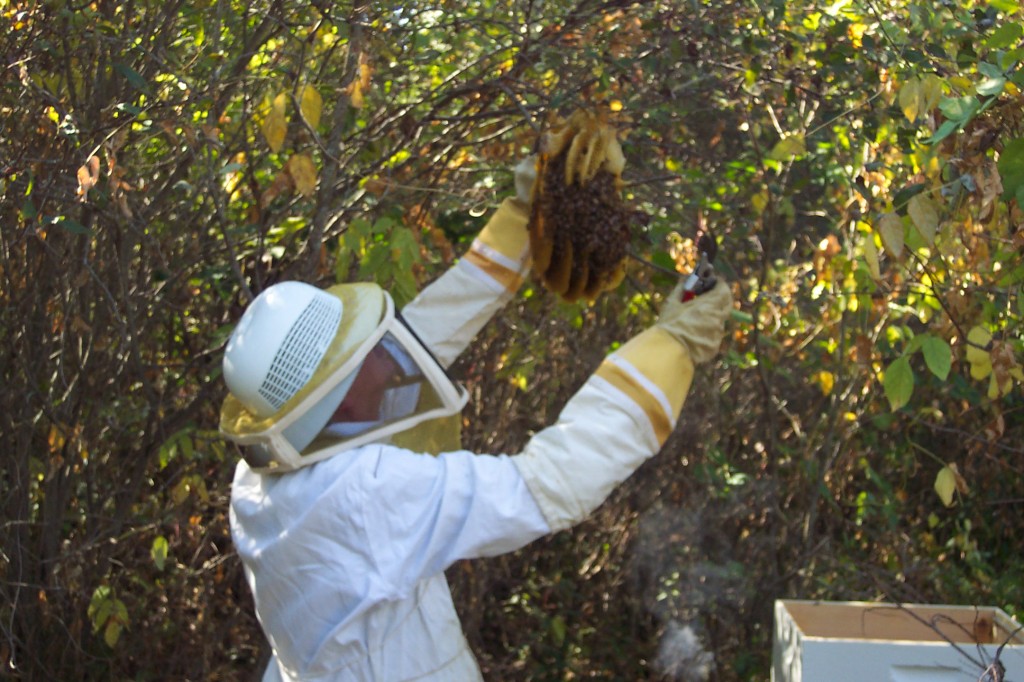
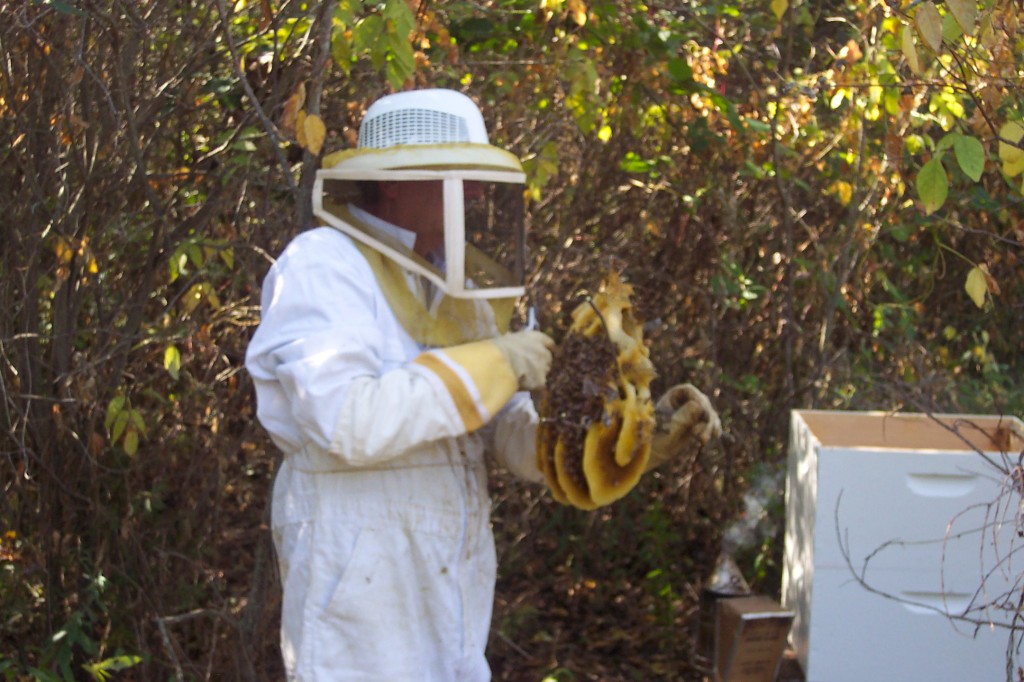
A swarm of  feral (wild) honeybees landed in a tree near my house and established a hive right there on a tree branch out in the open. Normally they will search out a sheltered location such as a hollow tree, shed, wall of a house or other similar spot.

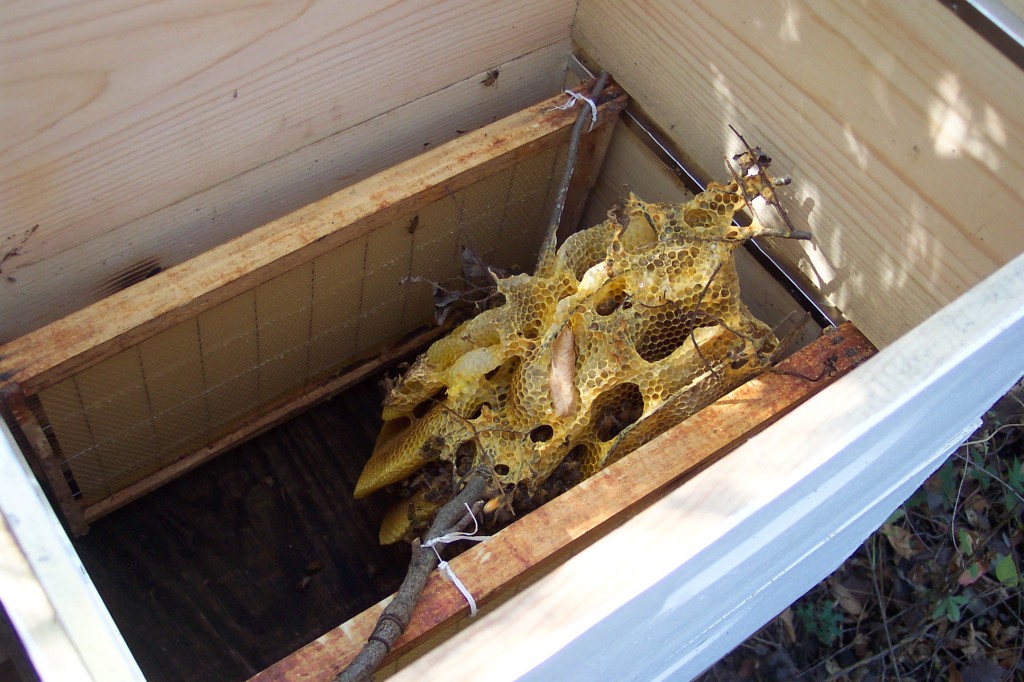
Knowing they would not be able to survive our Michigan winter out in the open like that, I decided to place them into a beehive body. This is a wooden box of standard size used to keep bees.

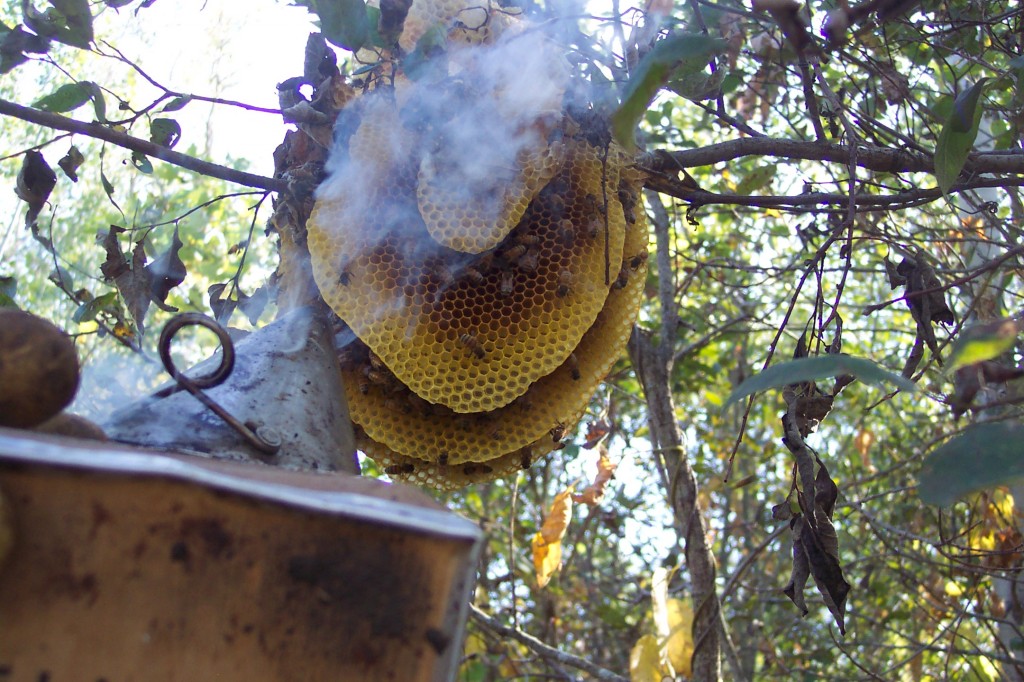
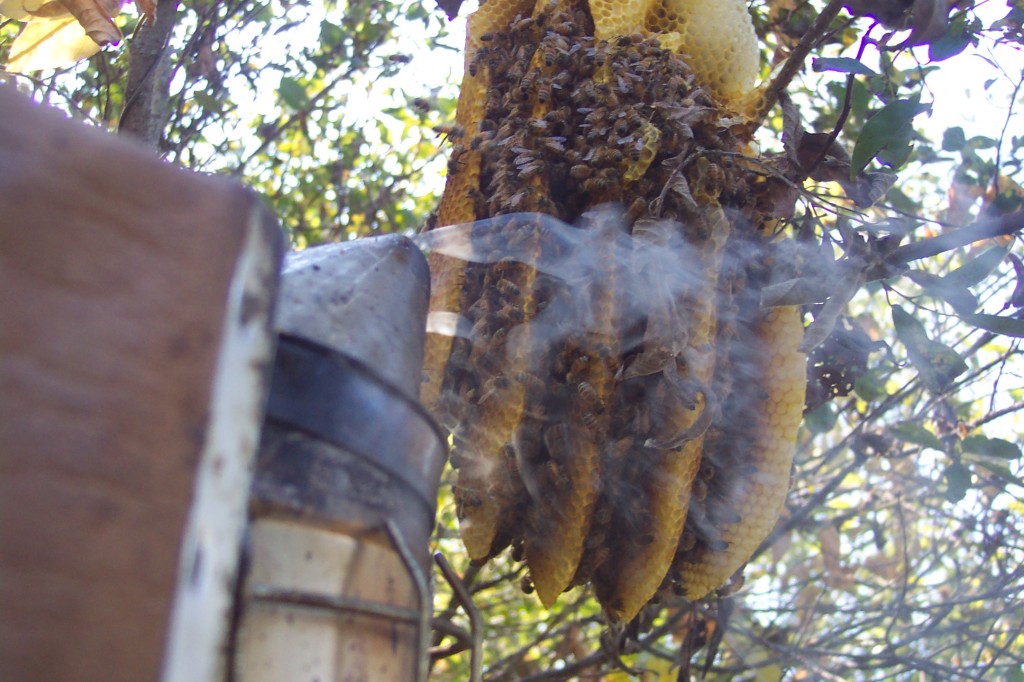
The first step is to smoke the bees to calm them down.  A bee smoker is the tool used for this purpose.

More smoke.

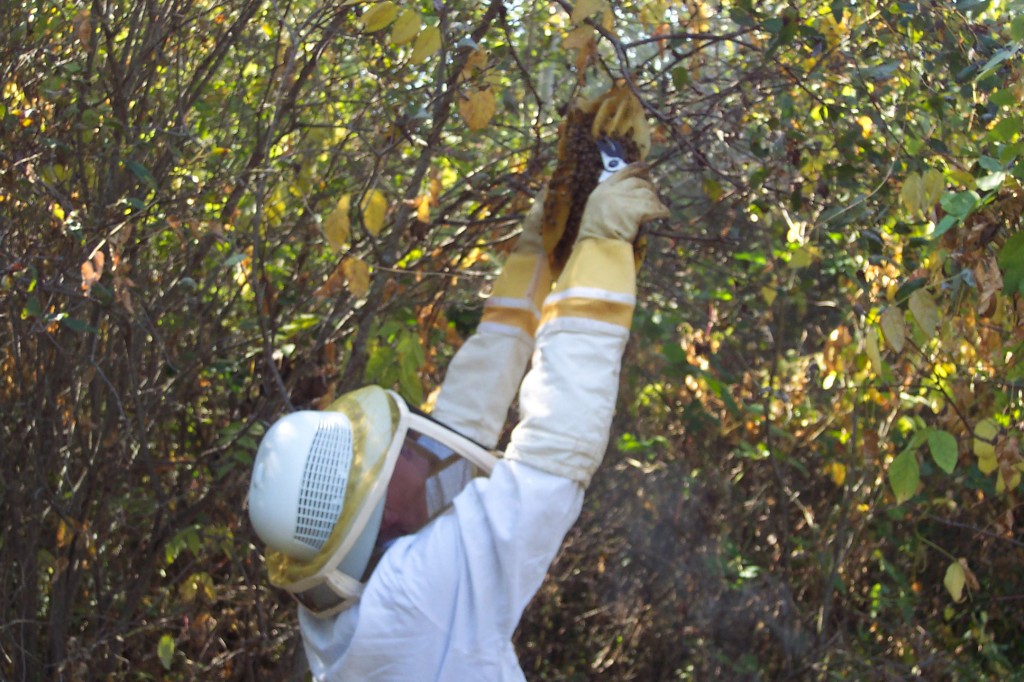
Once the bees have calmed down I was able to start cutting the nest away from the tree branches.

Luckily I was able to reach the bees from the ground.

The bees didn’t seem to mind that I was carrying the from the spot they called home for most of the summer.

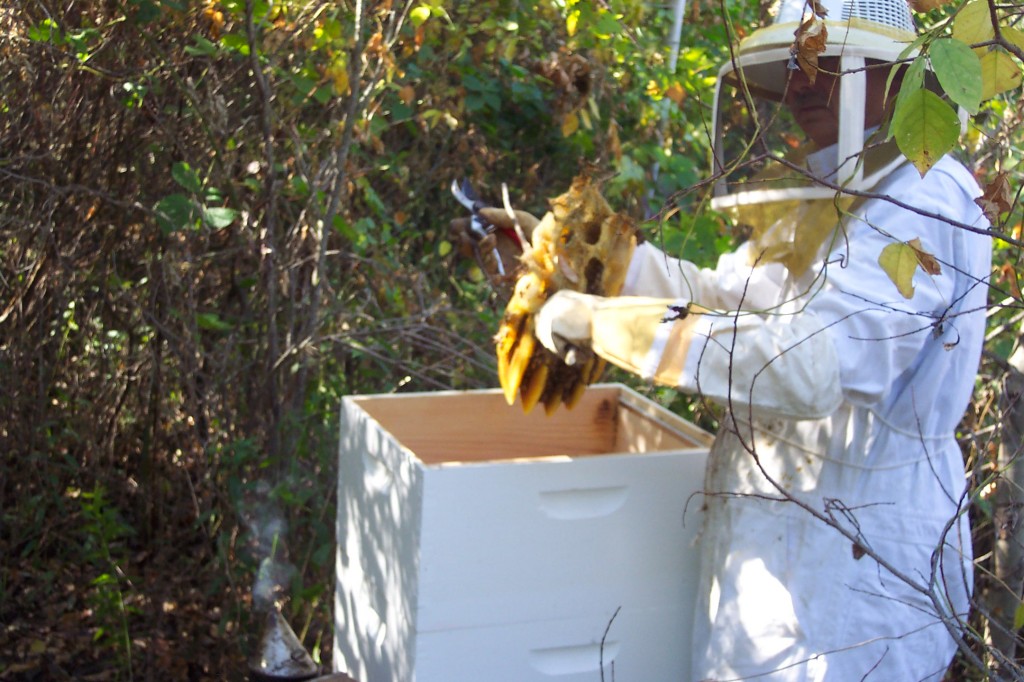
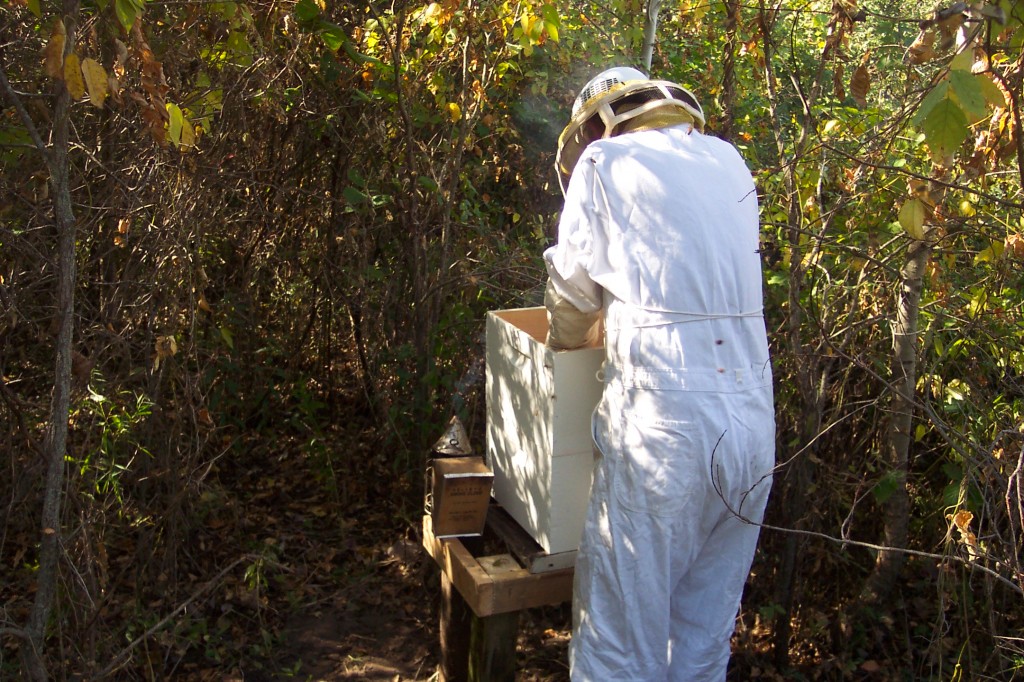
Into the new home they go.

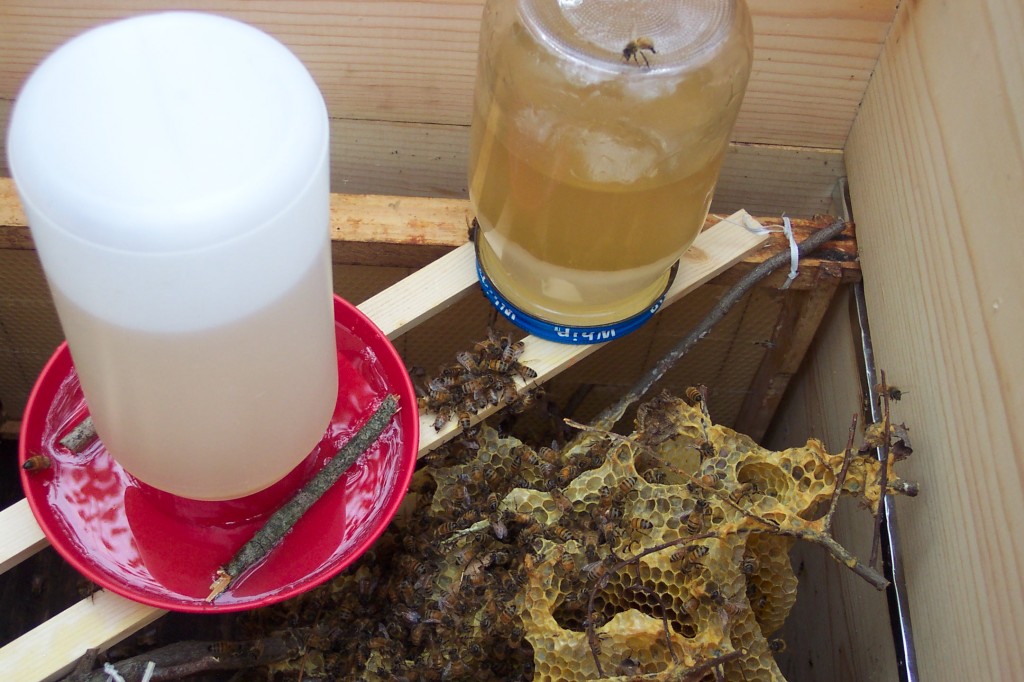
The bottom box, known as the hive body,  is where the nest is placed. The upper box holds the temporary bee feeders.

I wired the branch which was holding the combs on to a couple of wax frames. These are brand new and haven’t been drawn out into a honey comb. This is not very orderly compared to what you would find in a beekeepers hive body. Normally I would separate the combs and attach them to comb frames to make them easier to manipulate.

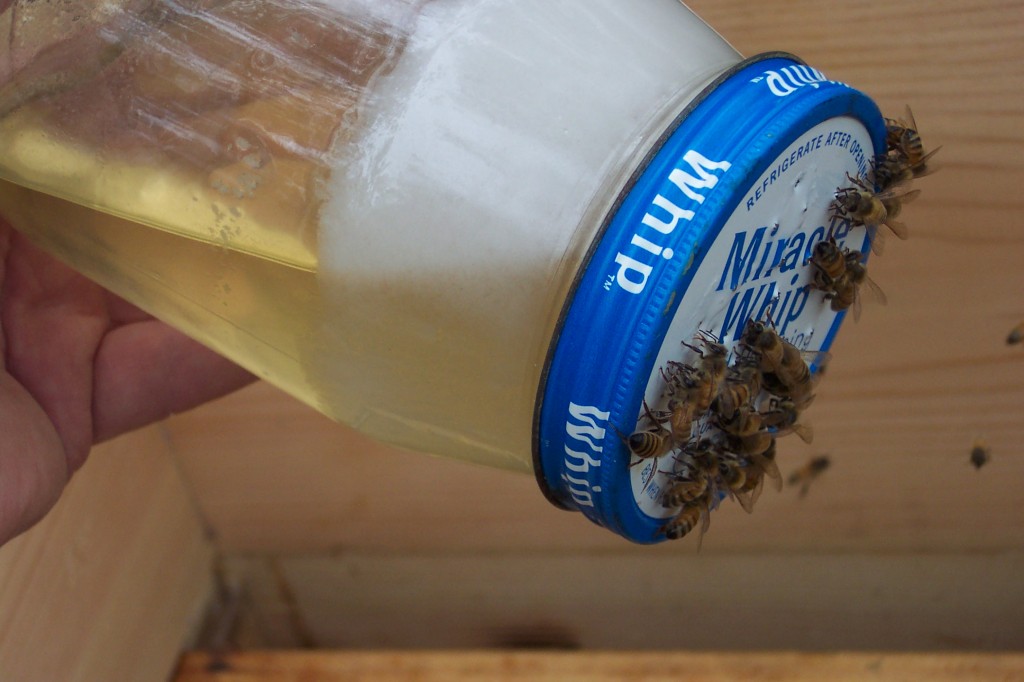
Feeding sugar syrup is critical if they are to have any chance at all to survive the winter.  It rained a couple of days afterward. Bees can’t forage for nectar in the rain so the syrup was consumed by the bees during that time. I used an old mayo jar with holes punched in the bottom as a feeder.

Later I added another feeder to help them take up more syrup. This is one of my chicken waterers filled with syrup. The sticks are there to help the bees climb up out of the liquid in case they accidentally fall in.  We wouldn’t want them to drown.

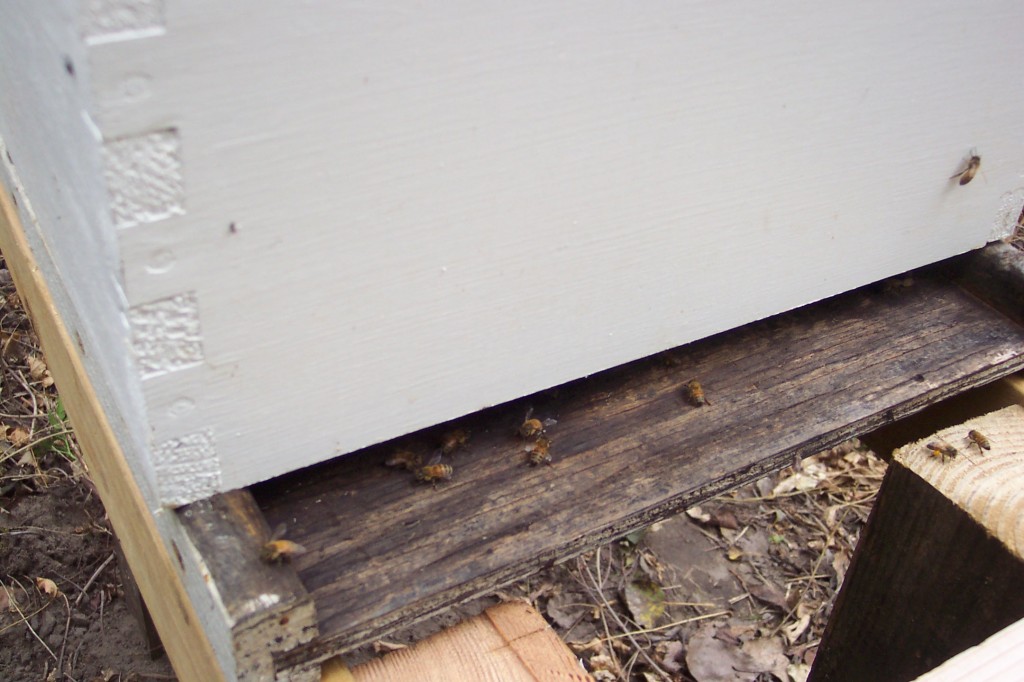
Bees can be seen flying into their new home with loads of nectar and pollen.

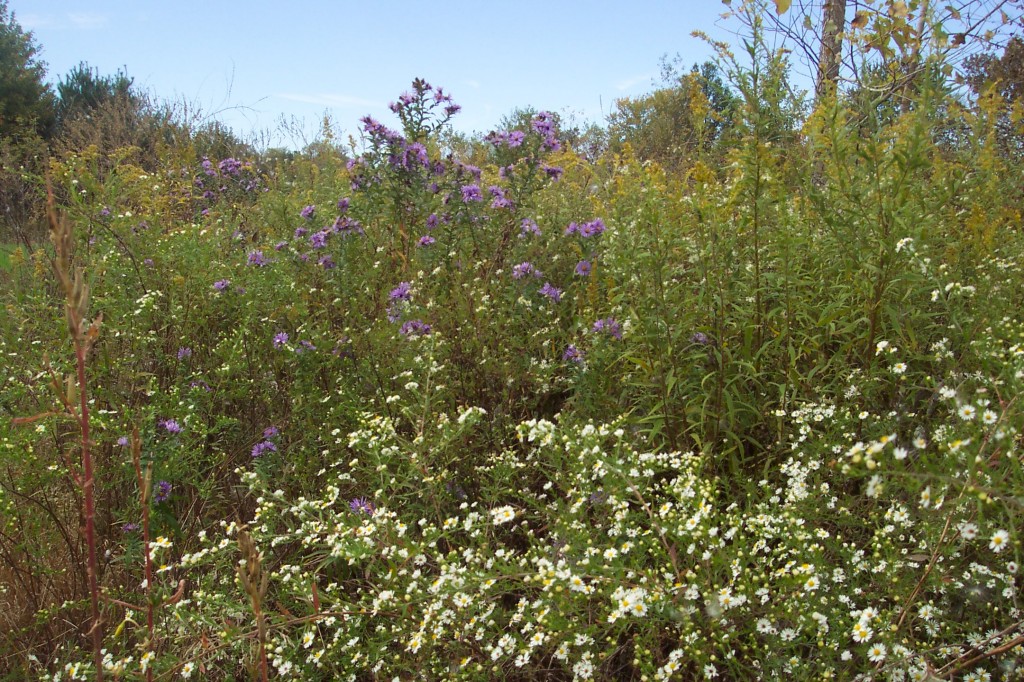
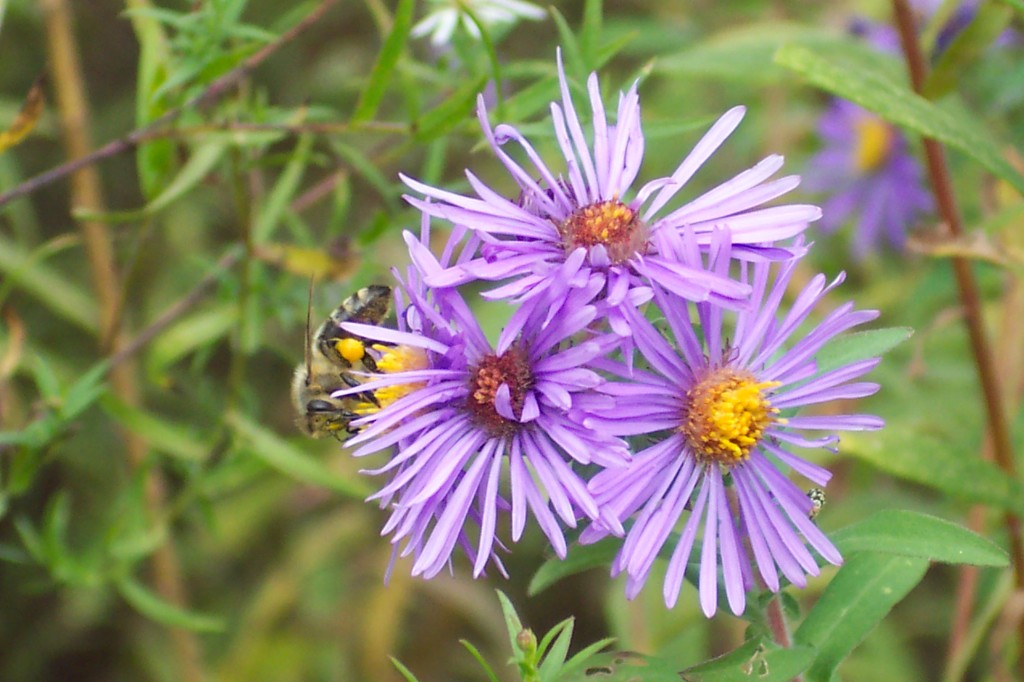
At this time of the year mostly Aster and Goldenrod nectar is collected by the bees.

Hopefully we will have a mild winter this year.  Often we will get a day or two of temperatures in the 50′s during the months of December through February. This will go a long way in helping the bees survive.

If they make it to March, they will be facing another critical time. Many beehives are lost in early spring before the flowers begin blooming. They will need to be fed again until they can collect adequate nectar.

Bob

September 28, 2010

You Can Divide Daylilies Now

Filed under: Flowers — bob @ 11:23 am

Daylilies are one of the most versatile flowering plants available to gardeners. You can depend on them to produce an abundance of showy flowers and the foliage makes a good ground cover. They are not attacked by insects and are susceptible to only a couple of mild disease organisms that don’t seem to hurt the plant very much at all. There are varieties available that will flower at different times during the growing season so that you can have Daylilies flowering most of the  summer. In addition to all of that, they are perennials meaning you don’t have to plant them over again each spring. In general, Daylilies don’t require as much maintenance as many other flowers.

If you noticed this year that your Daylilies didn’t  produce as many blooms as in the past, it is possible that they are starting to become over-crowded. After four or five years of growing in the same spot Daylilies tend to form a heavy mat of roots in the middle and the plant loses its vitality. To prevent this problem, divide your Daylilies frequently. Late summer and early fall is the ideal time of the year to do this.

These Daylilies are still doing fine and will not need to be divided for a couple of years.

Dividing Daylilies is very easy, all you need really need to do is dig the plants up and split them apart. With Daylilies it is easy to tell where the division should be made because they tend to form clumps of roots with a fan of leaves attached. Break these clumps apart and re-plant them into their bed or into a new spot. Place the clumps at the same depth as they were originally growing.

A clump of Daylilies separated from the main plant.

Many years ago I was asked to divide a relatively large bed of Daylilies. If I remember right my helper and I ended up transplanting somewhere around 2000 divisions.  We ended up constructing three more beds to hold all of them.  It did make a striking display.

If you have had no flowers at all from your Daylilies in the past, it is most likely there is a problem with the site. They do best in partial shade but will grow fine in a sunny spot if the soil is kept moist and has adequate fertility. Keep in mind however that they will not flower if they are planted in too shady of a spot.

Don’t be too concerned if you are unable to work on your Daylilies this fall, they can also be divided early next spring.

Bob

« Newer PostsOlder Posts »

Powered by WordPress